FTC Disclosure: Delicious Obsessions may receive comissions from purchases made through links in this article. As an Amazon Associate I earn from qualifying purchases.Read our full terms and conditions here.
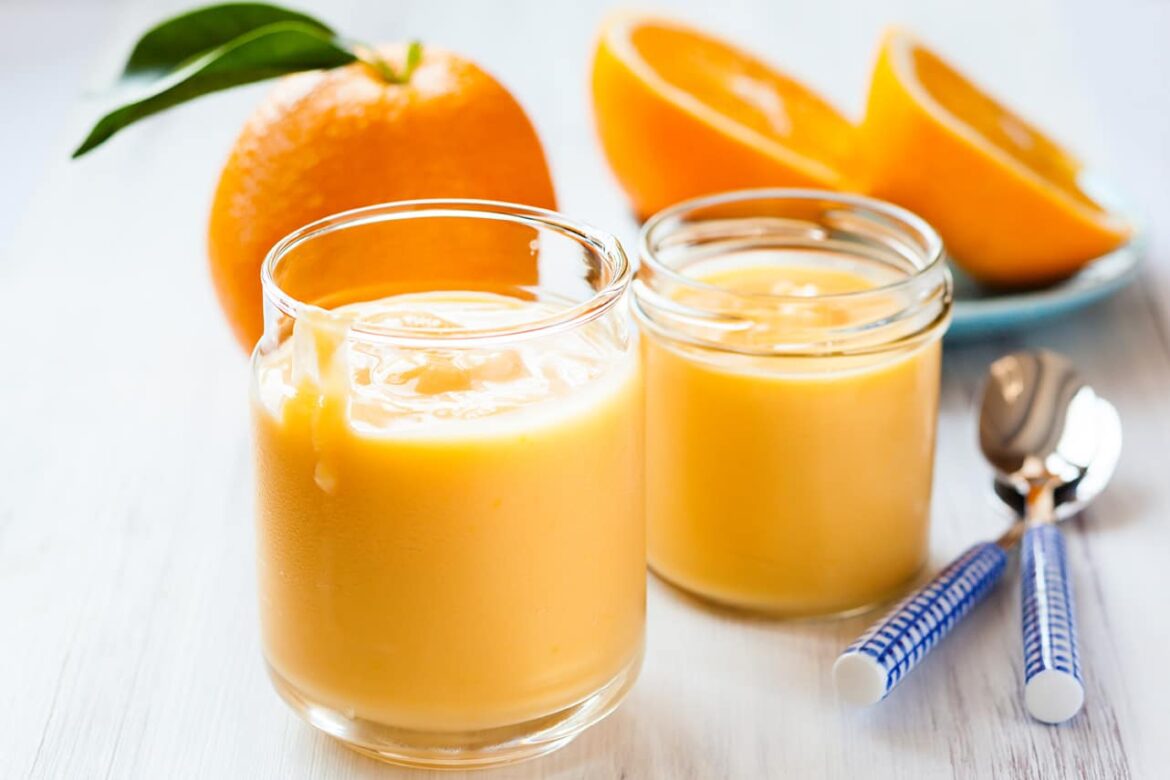
If you’re a fan of lemon curd, just wait until you try this Easy Instant Pot Orange Curd. It’s such a cinch to make and it tastes so wonderful. It’s smooth, creamy, sweet, and luscious. Spread on toast, pancakes, or biscuits. Top your favorite cake or ice cream. Or just eat it off the spoon as I do.
Oranges are going to be coming into season soon (at the time of this writing) so I thought it would be the perfect time to share my Easy Instant Pot Orange Curd recipe. If you’re a fan of lemon curd, you are going to LOVE orange curd. It’s so unbelievably delicious and with the help of the Instant Pot, it comes out perfectly every time.
A while back, you may remember I shared my recipe for Easy Instant Pot Lemon Curd. Once I had that recipe under my belt, I knew I wanted to experiment with other fruit curds. The Instant Pot makes it so unbelievably easy to make curd. I shared a recipe years and years ago for honey-sweetened lemon curd but never made it that often because it always seemed like such a hassle. But now that the Instant Pot is in play, it’s all curd, all the time. 😉
Most people consider oranges to be a winter fruit and they would be right. But as I was writing this post, I decided to check on the actual orange season and this is what I found out:
- Navel oranges are typically going to be at their best December-March
- Blood oranges are typically best from December-April
- Clementines and tangerines are going to be their best between late October-January
- Cara Cara Oranges are at their peak from December-April
- Seville Oranges have a shorter season ranging from December to the beginning of February
- Mandarins have a longer season than most from January-May
- Satsumas have a short season from November-January
So now you can plan out your orange season appropriately. And on a side note, any orange will work in this recipe. If you really want to dive into the different types of oranges, their peak season, and their best uses, this post from Spruce Eats is a lot of fun.
How to Use Your Easy Instant Pot Orange Curd
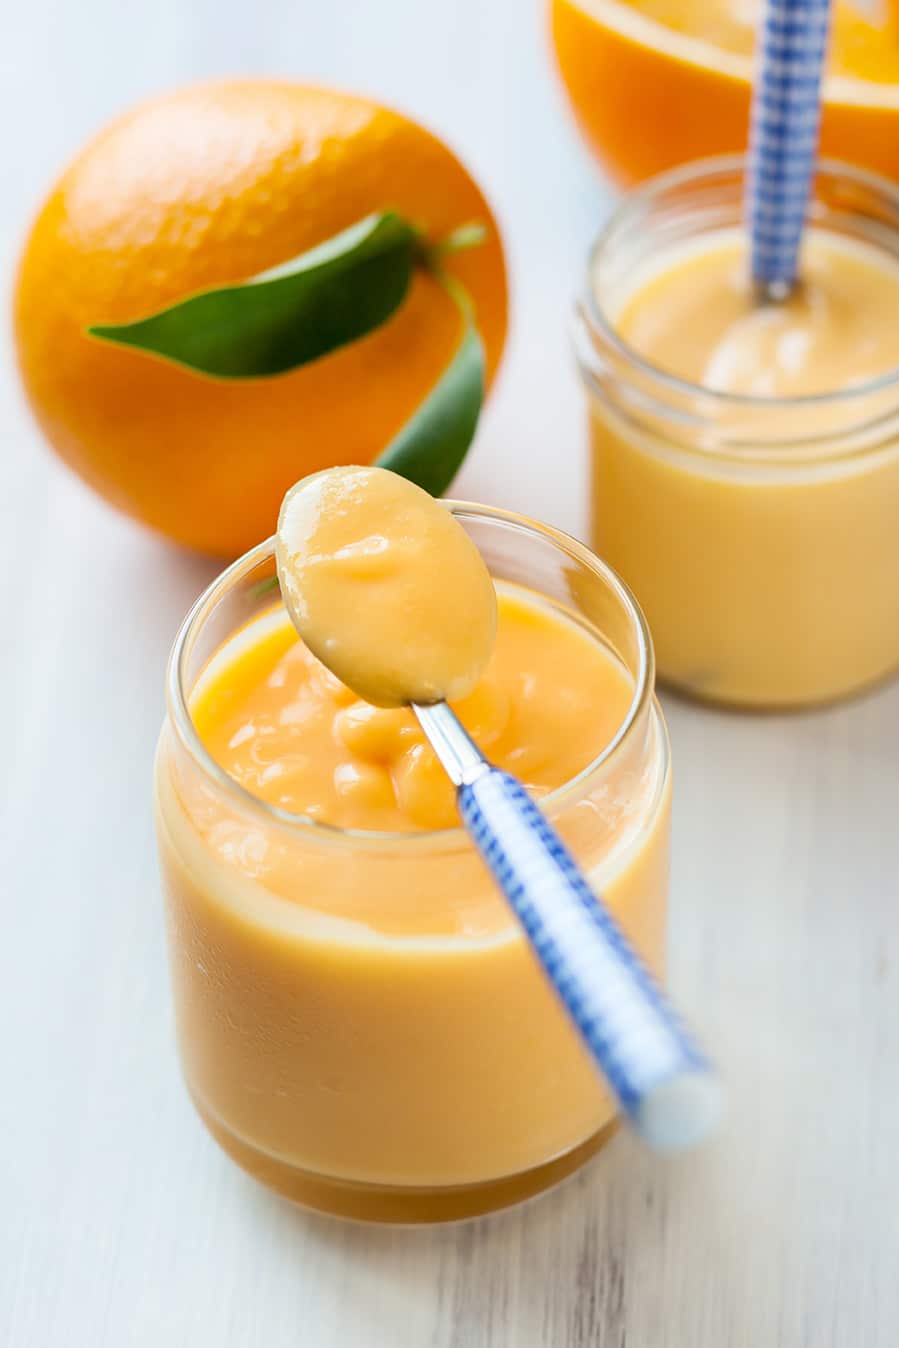
Listen, let’s not beat around the bush. My favorite way to eat orange curd (or lemon curd or lime curd or any other curd) is right off the spoon. When I make curd, I can almost guarantee that the majority of it will be eaten that way.
BUT, there are other ways to enjoy curd too. Here are some other favorites:
- Spread the curd on these high-protein waffles or your favorite pancakes in place of maple syrup.
- Add a dollop to my delicious dairy-free vanilla cream pudding.
- Top your bowl of vanilla ice cream with a nice big dollop.
- Layer it with fruit and yogurt for easy parfaits.
- Use it as a topping on this orange coconut cake, this vanilla bean cheesecake, or these no-bake cheesecake bites.
- Use it as a filling instead of jam in these delicious thumbprint cookies.
- Use it as a dip for fresh fruit.
- Top your favorite scones (like these) with a nice big spoonful.
And I am sure there are a ton of other fun ways to eat this easy Instant Pot orange curd too. What would you add to the list?
Notes About Easy Instant Pot Orange Curd
As you’ve noticed me mention, this recipe is a cinch to make. But I always get tons of questions about recipes so I try to get as many answered ahead of time as possible.
Please make sure all of your ingredients are at room temperature. It really does make a difference when juicing your oranges. It’s easier and you get the most juice out of them too. Don’t forget to zest your oranges BEFORE you juice them.
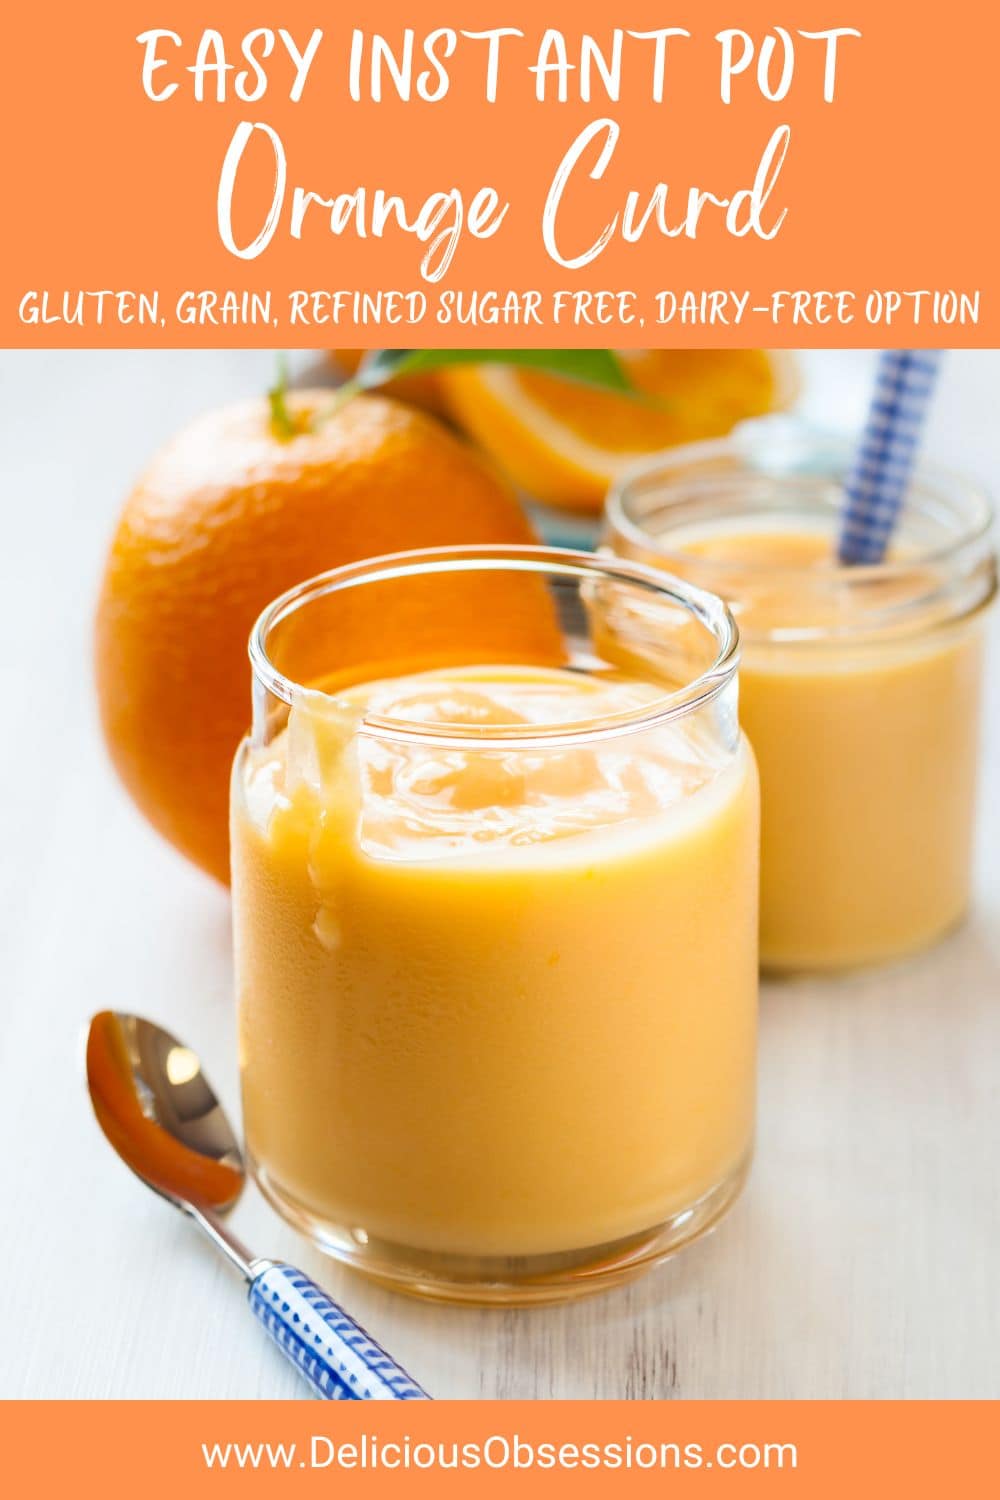
Why is my curd pale in color? The color of your curd may vary and it depends on a few things. First, your eggs. Are they pastured eggs with bright orange yolks or are they conventional eggs, which tend to be much paler in color?
The second thing that impacts the final color is the type of orange used. Some oranges have a brighter juice and if you use blood oranges, the color will be a lot redder.
The last thing that impacts curd color is the butter. Is it grass-fed butter, which tends to be bright yellow in color, or is it conventional butter, which is typically very pale, almost white? Both of these things impact the color of your curd.
For the sweetener, you can use any sweetener you like. I chose allulose to keep it sugar-free because it’s what I am currently liking (if you’re not familiar with allulose, check out my sugar-free salted vanilla bean caramel post where I talked all about it). You could use erythritol or one of the sugar alcohols but the flavor will be a little different due to the cooling effect these sweeteners have. I also find that sugar alcohols tend to run the risk of curdling certain things, so I never bothered trying it in this recipe. You could also use cane sugar, honey, etc. All will work fine in this recipe and it doesn’t matter if it’s granulated or liquid.
Can’t do butter? You can use vegan butter for this and it will work fine. I don’t recommend using coconut oil or any other fat because you really do need the butter flavor.
This curd is really thick and creamy. If you want a thinner curd, you could add a little more orange juice and butter. But I personally prefer it really thick and rich like this.
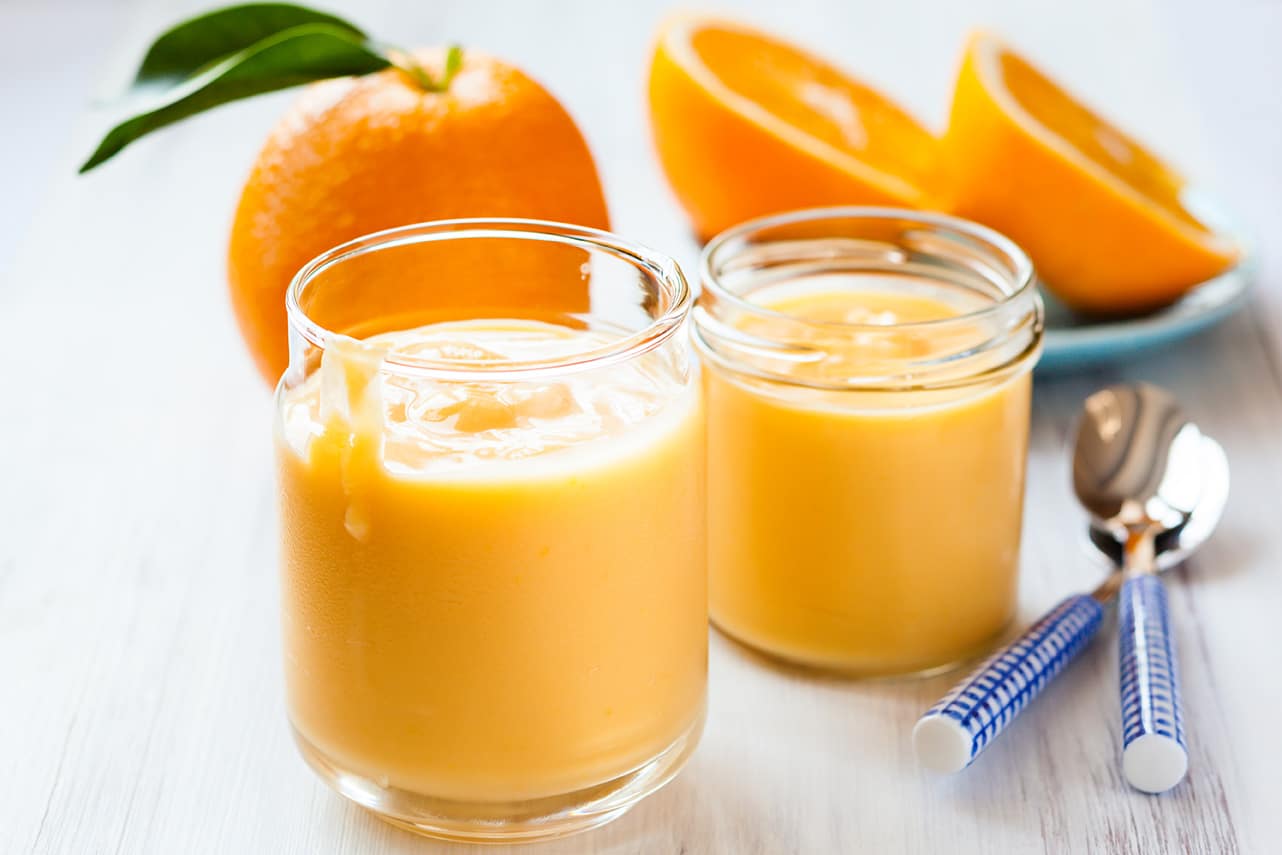
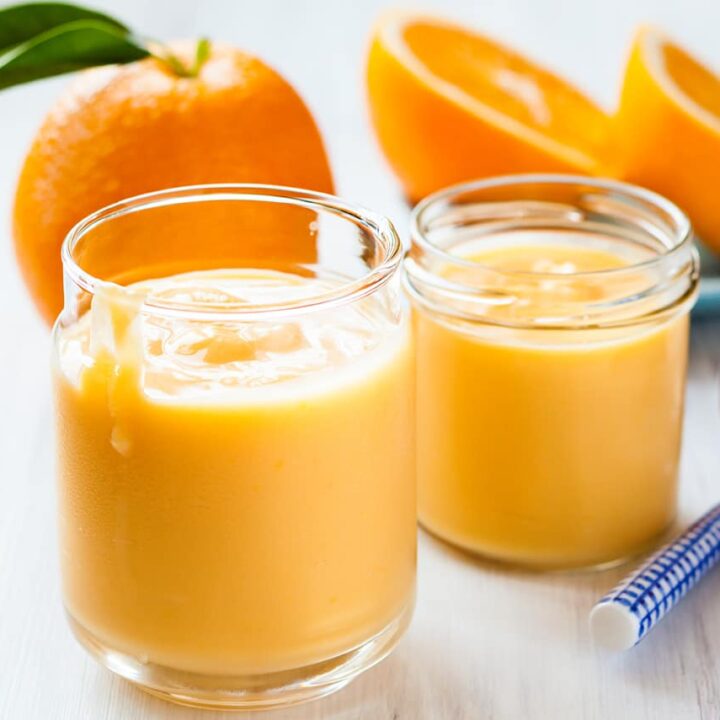
Easy Instant Pot Orange Curd :: Gluten-Free, Grain-Free, Refined Sugar Free, Dairy-Free Option
If you're a fan of lemon curd, just wait until you try this Easy Instant Pot Orange Curd. It's such a cinch to make and it tastes so wonderful. It's smooth, creamy, sweet, and luscious. Spread on toast, pancakes, or biscuits. Top your favorite cake or ice cream. Or just eat it off the spoon like I do.
Ingredients
- 2 whole eggs
- 3 egg yolks
- 1/8 cup allulose or sweetener of your choice
- 1/2 cup melted butter (make sure your butter is not super hot or you'll cook the eggs - you can also use vegan butter if you need)
- 1/2 cup orange juice (approx. 2 oranges, depending on the size)
- 1 tsp lemon juice
- 1/4 tsp. stevia (liquid or powder – optional, use if you want to boost the sweetness even more)
- 1/4 tsp orange extract (optional, but boosts orange flavor)
- zest from 2 oranges
Instructions
- Puree all the ingredients until smooth in a blender or using a hand immersion blender. I use my 4-cup glass Pyrex measuring cup with my immersion blender so that I don't have to transfer my mixture.
- If you used a blender, pour the mixture into a glass bowl. You don't want to cook this directly in the metal pot because it will end up tasting gross.
- Place the trivet in your Instant Pot and add 2 cups of water to the bottom.
- Place your glass bowl on the trivet and cover it with a piece of parchment paper. Covering it is not required, although it does help stop the condensation from dripping into the curd.
- Seal the lid and pressure cook on high for 8 minutes. When the time is up, let it do a natural release for another 8 minutes.
- Remove the lid and take the glass bowl out. Careful! It's HOT!
It's going to look a bit funky, like it's curdled, but have no fear! All you have to do is whisk it vigorously and it will come together beautifully (or use your immersion blender again as I do). At this point, you can also strain it through a fine-mesh strainer if you want, but honestly, I skip this step because I don't think it's needed. The immersion blender gets out all the lumps. - Let the curd cool on the counter for an hour or so and then whisk again once more before moving to the fridge.
- Enjoy!!
Recommended Products
As an Amazon Associate and member of other affiliate programs, I may earn a small commission from qualifying purchases.
Nutrition Information:
Yield: 8 Serving Size: 1Amount Per Serving: Calories: 173Total Fat: 15gSaturated Fat: 8gTrans Fat: 0gUnsaturated Fat: 5gCholesterol: 147mgSodium: 136mgCarbohydrates: 7gFiber: 1gSugar: 5gProtein: 4g
IMPORTANT! PLEASE READ!!! This website provides approximate nutrition information for convenience and as a courtesy only. Nutrition data is gathered from Nutritionix and we often find their calculations to be slightly inaccurate based on the whole food ingredients we use on this site. Nutrition information can vary for a recipe based on many factors. We strive to keep the information as accurate as possible, but make no warranties regarding its accuracy. We encourage readers to make their own calculations based on the actual ingredients used in your recipe, using your preferred nutrition calculator.
Have food sensitivities or allergies? Missing out on delicious treats? Well, now you don’t have to any longer!
Hi! My name is Jessica and I have a major sweet tooth! I also have multiple food sensitivities that include gluten and dairy and my body doesn’t do well with any form of refined sugar.
What’s a girl to do?
Well, I could go to my local Natural Grocers and find a lot of healthier treat options, but even then, many of them tote a hefty price tag or still include ingredients that don’t work so well for my body. So, I decided to head into my kitchen and start creating my own delicious treats at home. That way I can control the ingredients and customize everything to my own individual needs.
And today, I am excited to share my newest eBook, Deliciously Decadent Desserts, with you! This eBook is available exclusively to my newsletter subscribers and features never-before-published recipes. This book includes some of my all-time favorite recipes and you can download your copy below for FREE!

Recipes include my beloved Homemade Thin Mints AND my Thin Mint Sandwiches Cookies (among others!). If you love Girl Scout cookies, but the ingredients don’t love you, have no fear! These two recipes alone will knock your socks off!
Regardless of whether you are gluten, grain, dairy, or refined sugar-free (or a combo of all), now you can have your treats and eat them too! I can guarantee the whole family will swoon for the recipes in this new eBook.
Download your copy today using the form below! If you have any questions, don’t hesitate to reach out and ask!

