FTC Disclosure: Delicious Obsessions may receive comissions from purchases made through links in this article. As an Amazon Associate I earn from qualifying purchases.Read our full terms and conditions here.
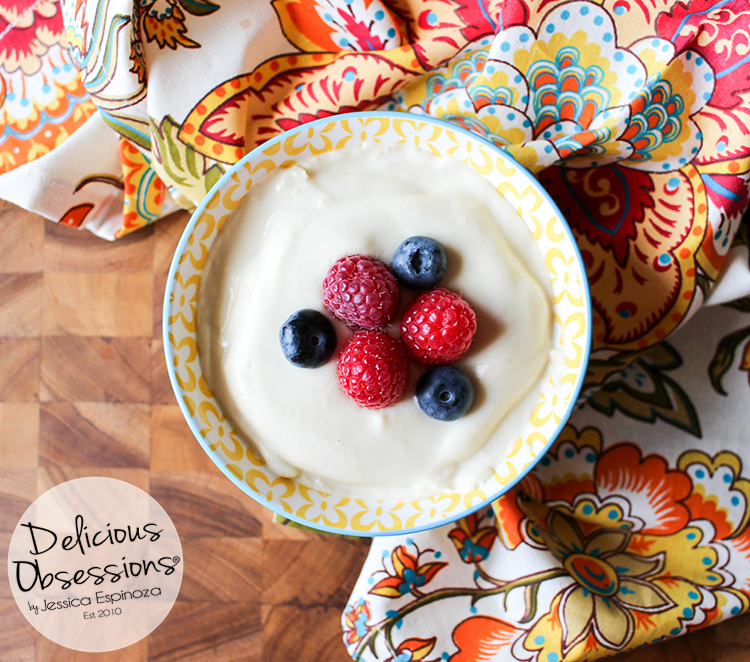
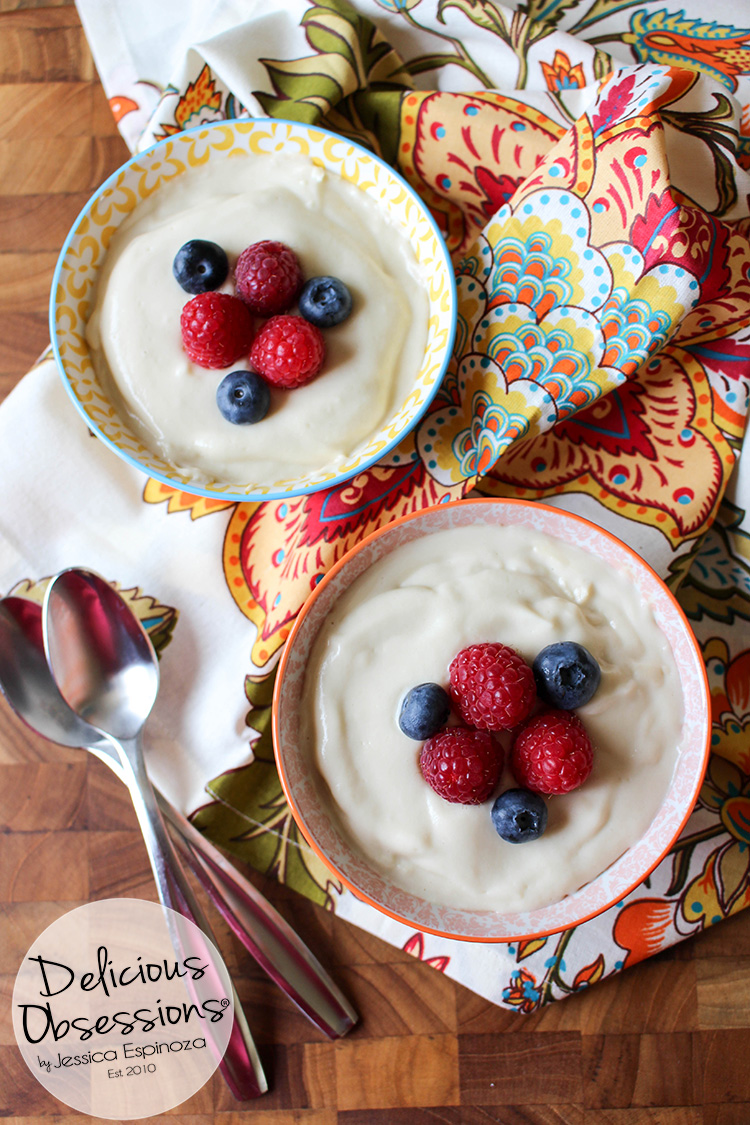
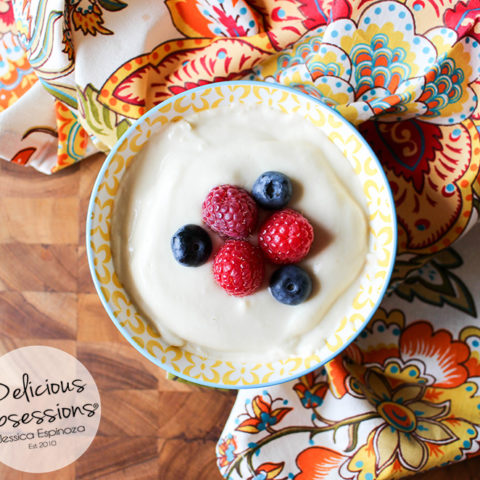
This Easy Dairy-Free Vanilla Cream Pudding is rich and decadent, yet simple to make. Flavored with vanilla and a hint of almond, this tasty treat is perfect as-is or topped with fresh fruit, granola, or nuts. This Easy Dairy-Free Vanilla Cream Pudding makes a lovely snack or evening dessert and could even be used as a pastry or pie filling.
I’m really excited to share this easy dairy-free vanilla cream pudding recipe with you guys today! How many of you guys grew up eating pudding? I am definitely over here raising my hand. My mom made the best homemade pudding and custard and I have fond memories of eating those throughout my childhood.
What’s funny is that I can’t remember the last time I’ve made pudding through. But, awhile back I was getting a hankering for this smooth, creamy treat. Pudding is not something I often get a craving for, so I decided to pull out my mom’s old recipe.
I had to make a few adaptations to make it suitable for my dietary needs right now. After tweaking it a bit, this easy dairy-free vanilla cream pudding recipe was born and it is oh so good. Try it plain, or topped with your favorite fruit, nuts, seeds, or my favorite Sweet Cinnamon Coconut Chips.
Easy Dairy-Free Vanilla Cream Pudding Ingredient Notes
Non-Dairy or Dairy Milk
I’m making this easy dairy-free vanilla cream pudding dairy-free, using coconut milk, but you could use any other dairy-free milk of your choice. Keep in mind that coconut milk adds quite a bit of fat and richness to the pudding that is lost with other non-dairy milks like almond or cashew. I prefer coconut milk for things like pudding and custard because of the rich flavor and wonderful texture it gives.
If you do not have a dairy sensitivity, feel free to substitute cream or whole milk for the coconut milk in this recipe. It will turn out amazing and be so rich and creamy. Classic recipes are often made with half cream and half whole milk so you have a super rich and creamy pudding at the end.
Sweetener Options
As far as a sweetener goes, I am using erythritol and stevia as the sweeteners for this easy dairy-free vanilla cream pudding recipe since that is what works well for my body right now. This keeps it lower carb and has less of an impact on my blood sugar levels. You could likely use other sugar alcohols (like xylitol), but I find that I react to everything except erythritol.
If you prefer to avoid sugar alcohols and/or stevia, you could use any granulated sweetener of your choice for this recipe in a 1:1 ratio. You might need to add a tiny bit more to make up for the stevia, depending on the type of sweetener you use and how sweet you prefer things like this. Some people prefer things on the sweeter side, so if that’s you, feel free to adjust up to suit your tastes.
Mix Up the Flavors
I like to keep things really basic when it comes to my pudding, but if you feel fancy you are welcome to add in other types of flavors instead of just vanilla and almond. I find vanilla and almonds combine to be the classic flavor that I remember as a child. But things like peppermint, orange, lemon, or even hazelnut would taste amazing in this recipe.
I’d love to hear what flavor combos you come up with. This basic easy dairy-free vanilla cream pudding recipe will yield itself to so many things. You could even add some cocoa powder in with the cornstarch and have a simple chocolate pudding.
Don’t forget to Temper the Eggs
Make sure you follow the instructions exactly and take the time to temper your eggs before you add them to the hot liquid. I don’t know how many people have told me that they have tried to make homemade pudding and ended up with scrambled eggs in the pot.
The key is to always temper your eggs and make sure that you slowly add them into the pot and whisk vigorously the whole time. This will ensure that you don’t end up with scrambled eggs or egg chunks in your final pudding.
Cornstarch vs. Arrowroot vs. Tapioca
Classic puddings are made with cornstarch, which is something that I do not react to. Ironically, I react to pretty much all forms of corn except cornstarch. So I can get away with using cornstarch in this recipe.
If you are sensitive corn and can’t use it, then you can substitute arrowroot or tapioca. But keep in mind that the texture is going to change. Cornstarch gives the best texture for puddings, in my experience. I do find that both arrowroot and tapioca yield a thicker, more “boogery” pudding consistency than cornstarch.
Sorry for the gross imagery there, but boogery and arrowroot go hand-in-hand in this household. I’ll never forget the first time I made gravy with arrowroot and my husband said it looked like boogers. LOL!
Making Your Pudding Extra Smooth
I personally skip this step because I like to keep things as simple as possible. And I like to use as few dishes as possible because, well, dishes. Who’s with me? That said, if you want an extra smooth easy dairy-free vanilla cream pudding, you can run the final mixture through a small colander or sieve. This will make it even smoother and creamier.
Now, who’s ready for easy dairy-free vanilla cream pudding? Let’s go!
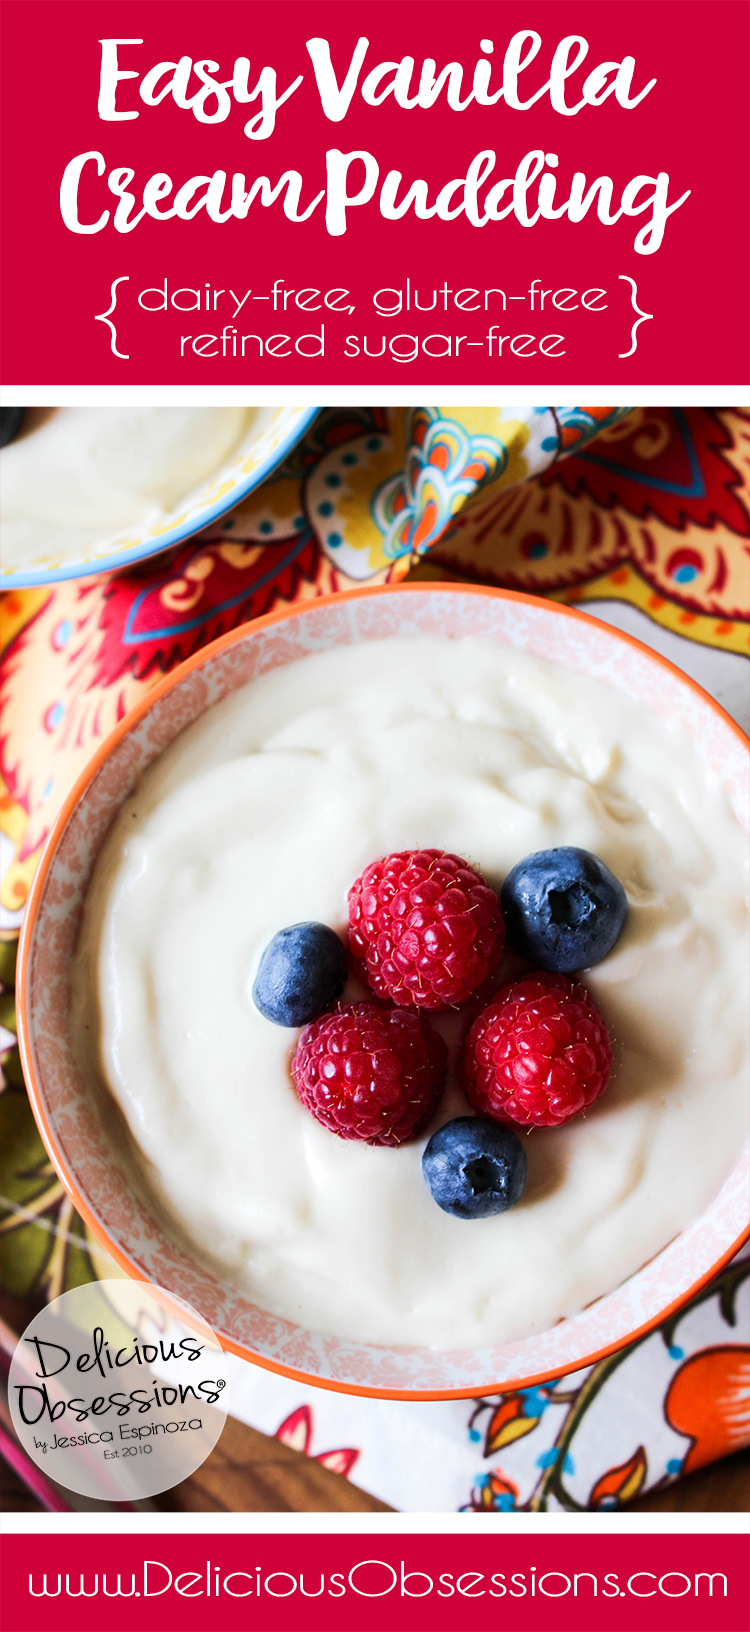
Easy Dairy-Free Vanilla Cream Pudding :: Gluten-Free, Refined Sugar-Free
Ingredients
- 3 eggs
- 3 1/2 tbsp organic cornstarch
- 2 cups full-fat coconut milk
- 1 cup almond milk or you can use all coconut milk
- 1/4 cup erythritol, or granulated sweetener of your choice
- 14 drops liquid stevia
- 2 tsp vanilla extract
- 1 tsp almond extract
- pinch of sea salt
Instructions
- Whisk your eggs in a medium bowl until smooth and creamy and set aside. Make sure your bowl is big enough to accommodate 1/2 cup additional liquid.
- Place your cornstarch in a small bowl and set aside.
- In a medium saucepan, combine your coconut milk, almond milk, erythritol, stevia, and sea salt and begin to heat over medium-high heat, whisking regularly.
- Heat until the milk is just getting ready to come to a simmer.
- Remove the pan from the heat (but leave your burner on and reduce to medium-low heat).
- Take 1/2 cup of the hot milk and add to the cornstarch and whisk to combine.
- Slowly, and I mean SLOWLY, pour a small stream of the hot milk/cornstarch mixture to your beaten eggs, whisking vigorously the whole time. This is called tempering your eggs and keeps them from scrambling or curdling in your pudding.
- Once you've added all of the milk/cornstarch mixture to your eggs, you are ready to add it back into the rest of your milk.
- Place the saucepan back on the burner and slowly pour your egg mixture into the milk in the saucepan, whisking vigorously the whole time.
- Continue whisking until the mixture starts to thicken. Remove from heat and stir in your vanilla and almond extract.
- It should be the perfect consistency at this point, but if it's not quite thick enough for your liking, return to the burner and continue to cook, whisking the whole time until it reaches your desired consistency.
- Remove from heat and portion into serving dishes of your choice. I love using the 8oz. Mason jars like these to store mine since they have airtight lids and are easy to grab and go.
- Let cool for about 30 minutes before moving to the fridge. Do not add your lids or other covering until the pudding has cooled completely, or else you'll end up with water build-up on the lid that will drip down into your pudding.
- This pudding can be served warm, at room temperature, or cold. It's delicious any of these ways. Feel free to top with fresh fruit, nuts, seeds, or any other topping that tickles your tastebuds at the moment.
- Store leftovers in the fridge for up to 4 days.
Recommended Products
As an Amazon Associate and member of other affiliate programs, I may earn a small commission from qualifying purchases.
-
 Set of 3 Multi-Color Silicone whisks with stainless steel handles. Milk & Egg Beater Balloon Metal Whisk for Blending, Whisking, Beating and Stirring. Whisks for cooking by Dragonn. (Multi Color)
 -
 Cuisinart CTG-00-3MS Set of 3 Fine Mesh Stainless Steel Strainers
 -
 Anthony's Organic Cornstarch, 2lbs, Gluten Free, Vegan & Non GMO
 -
 Aroy-d Coconut Milk 100% Original Net 8.5 Oz.(pack of 12)
 -
 Erythritol Sweetener
 -
 SweetLeaf Sweet Drops Liquid Stevia Sweetener
 -
 Certified Organic Pure Vanilla Extract
 -
 Simply Organic Almond Extract, Certified Organic, 4-Ounce Container
 -
 Redmond Real Sea Salt
Nutrition Information:
Yield: 4 Serving Size: 1Amount Per Serving: Calories: 282Total Fat: 16gSaturated Fat: 12gTrans Fat: 0gUnsaturated Fat: 3gCholesterol: 140mgSodium: 177mgCarbohydrates: 30gFiber: 4gSugar: 22gProtein: 6g
This website provides approximate nutrition information for convenience and as a courtesy only. Nutrition data is gathered from Nutritionix. Nutrition information can vary for a recipe based on many factors. We strive to keep the information as accurate as possible, but make no warranties regarding its accuracy. We encourage readers to make their own calculations based on the actual ingredients used in your recipe, using your preferred nutrition calculator.
Sometimes You Just Need a Good Snack!
If you’re reading this blog, chances are you’ve embarked on your gluten-free journey, but are missing your favorite snack foods. You’re bored with all of the gluten-free options out there (which, let’s face it, aren’t all that healthy). Let me ask you a few questions:
- Are you new to a real foods diet or just bored with eating the same thing every day?
- Are you in need of healthy snack ideas for your whole family?
- Would you like recipes that are easy, delicious, and healthy?
If you answered yes to any of these, then my eBook, Gluten-Free Snacks, is for YOU! This book features delicious real food snack recipes from an established community of real food bloggers. All of the recipes featured in this ebook are tried and true recipes that have been put to the test of both preparation and taste.
Long before blogging and social networks, trading recipes has been a way to connect and transfer culture, nourishment, and love from the heart of the home (the kitchen) to others. So, in the spirit of old-fashioned cookbooks produced by schools and churches, each cook featured in this book has provided her BEST recipe, so it winds up a collection of the best of the best!
You will love all the new ideas and new flavors in this book. Clear, easy to follow instructions, beautiful photographs, and accessible ingredients will make this book a favorite resource.
Feed your family healthy and nourishing gluten-free snacks every day without sacrificing taste! These snacks are a great way to add variety to your family’s diet. Healthy snacks are what keep us going between meal times, giving us the energy and sustainable blood sugar that we need to power through our to-do list.
It’s time to ditch the food boredom and embrace deliciousness once again! The Gluten-Free Snacks eBook is your ticket to healthy, delicious, well-balanced snacks to keep you energized and focused no matter the time of day or activities you’re enjoying! Learn more about this eBook and how to download your copy of Gluten-Free Snacks here (or click on the image below).