

FTC Disclosure: Delicious Obsessions may receive comissions from purchases made through links in this article. As an Amazon Associate I earn from qualifying purchases.Read our full terms and conditions here.
Sweet and tangy lemon curd. It’s something that I love dearly! I personally can eat it plain or with simple whipped cream. It tastes fantastic over my gluten-free lemon coconut pound cake with fresh blueberry sauce. Or, for a super tangy treat, serve some of the lemon curd over vanilla kefir ice cream. That’ll get your taste buds jumping! 😉
I always assumed that lemon curd was one of those fancy, hard-to-make-at-home recipes, so I never attempted it until a couple of years ago. Once I made it the first time, I was hooked. It was so easy! How could I have never done this before?
If you’ve never had lemon curd, it’s like a rich pudding and is full of protein from the pastured eggs. If you use high-quality pastured eggs, the color is going to be rich and vibrant. The flavor is simple. Very tangy and lemony, not overly sweet, and satisfying. Using a hand mixer will yield a much fluffier, softer lemon curd. If you whisk it by hand, it will be more of a pudding consistency. I warn you — whisking by hand will make your arm very, very tired. But trust me. It’s worth it!

Sweet and Tangy Lemon Curd
If you’ve never had lemon curd, it’s like a rich pudding and is full of protein from the pastured eggs. If you use high-quality pastured eggs, the color is going to be rich and vibrant. The flavor is simple. Very tangy and lemony, not overly sweet, and satisfying.
Ingredients
- 5 pastured eggs
- 1/3 cup mild honey
- 1/8 cup grass-fed butter or ghee (melted)
- 1/8 cup virgin coconut oil (melted)
- 1/2 cup lemon juice (approx. 3 lemons)
- 1/4 tsp. Stevia (liquid or powder – optional – you can add extra honey if you don’t want to use stevia)
- Zest from 3 lemons
Instructions
- Crack eggs into a double boiler. Add the honey and stevia.
- Turn the burner on medium-low, and using your hand mixer or whisk, start whisking the eggs and honey mixture rapidly as the water comes to a boil. Beat the eggs until light and fluffy and the honey is incorporated. This will take approx. 5 minutes. Add lemon zest.
- While continuing to whisk, turn the burner up to high and add the lemon juice, and whisk until combined.
- Slowly pour in the coconut oil and melted butter (I mix them together in one measuring cup so I can add them both at the same time) while continuing to whisk on high speed (or, if by hand, whisk vigorously — I told you your arm would get tired).
- By now, the water should be boiling, so lower the heat to medium-low and continue to whisk. The mixture will start to thicken after about 3-5 minutes.
- Once you see it starting to thicken, turn the burner off and continue to whisk until the curd reaches the desired thickness. Remove from heat immediately.
- Place a mesh strainer over a glass bowl and slowly pour the curd through the strainer. You will need to gently whisk the curd through the strainer and into the bowl below.
- Place the curd in an ice bath to cool. Once the curd is at room temperature, cover it loosely and transfer it to the fridge. Will keep in the fridge for a few days … but I seriously doubt it will last that long!
Recommended Products
As an Amazon Associate and member of other affiliate programs, I may earn a small commission from qualifying purchases.
-
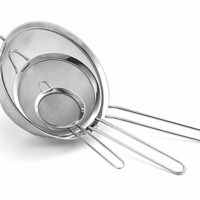 Cuisinart CTG-00-3MS Set of 3 Fine Mesh Stainless Steel Strainers
 -
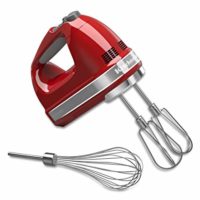 KitchenAid KHM7210ER 7-Speed Digital Hand Mixer with Turbo Beater II Accessories and Pro Whisk - Empire Red
 -
 Farberware Classic Stainless Series 2-Quart Covered Double Boiler
 -
 Stevia Extract Organic Now Foods 8 oz Liquid
 -
 Nutiva Organic, Cold-Pressed, Unrefined, Virgin Coconut Oil
 -
 Bulletproof Grass-Fed Ghee, Quality Clarified Butter Fat
 -
 Kerrygold Pure Irish Butter
 -
 Wholesome Sweeteners Organic Raw Honey
 -
 Vital Farms Pasture-Raised Large Eggs 12 ct
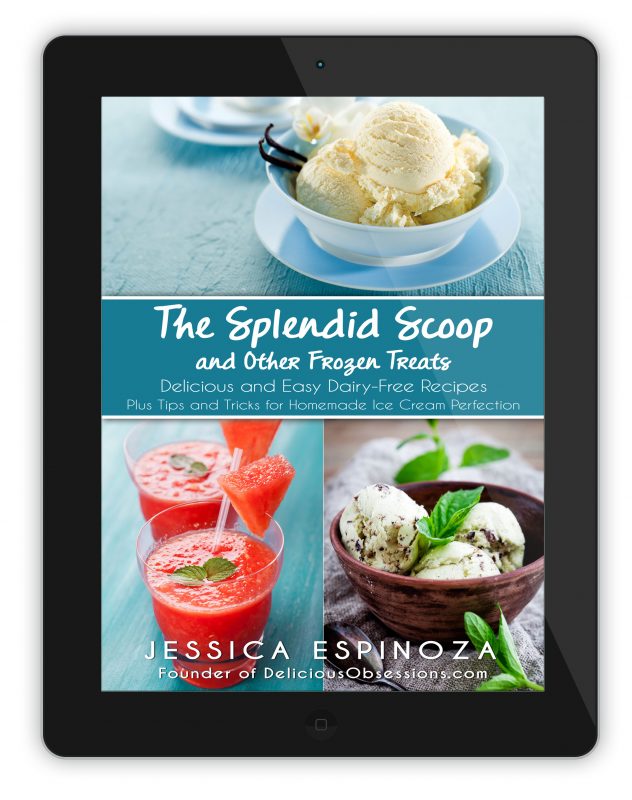
Learn How to Make Perfect Ice Cream (and Other Frozen Treats) at Home
Ice cream is the quintessential dessert (and trust me, lemon curd goes GREAT with ice cream!). I mean, I can’t think of a single person that I’ve ever met who doesn’t like ice cream. While not everyone is as passionate about the cold, creamy, sweet concoction as I am, I am betting that if you’re reading this, you probably enjoy a frozen treat of some sort every now and then.
If so, then I have the PERFECT resource for you today.
I am crazy about ice cream, but I find that there are very few commercial ice creams that I can eat. I can’t do dairy, so that scratches a good 75% of them off the list. And the non-dairy options either taste funny, have too much sugar, or have weird gums and additives that my poor gut just doesn’t tolerate.
So, what’s a gal to do?
Master the art of making her own ice cream at home, that’s what!
And create I did, and The Splendid Scoop and Other Frozen Treats eBook was born! This is one of my best-selling eBooks because I arm you with everything you need to make your own perfect ice cream (or other frozen treats) at home any time you want.
And I do it all with real food ingredients, no refined sweeteners, not gums, not stabilizers. No junk here.
Oh, and I also have made the recipes allergen-friendly and even adaptable for stricter healing diets (like the AIP).
So, if you are ready to master the art of making your own ice cream at home, this is the perfect book for you. Don’t let another special occasion or hot day in the summer pass you by watching everyone else enjoying cold treats while you sit on the sideline due to your dietary restrictions.
No more!
If you are ready to learn more about The Splendid Scoop and Other Frozen Treats and see how you can download your own copy today, click here (or just click on the image below!).

19 Comments