FTC Disclosure: Delicious Obsessions may receive comissions from purchases made through links in this article. As an Amazon Associate I earn from qualifying purchases.Read our full terms and conditions here.
UPDATE 7/25/12: Since writing this post over a year ago, I have since stopped using whey in my ferments. You can read about why I decided to stop using whey as a ferment starter here. That said, whey still has an important place in my kitchen. It is very nutrient dense and extremely nourishing. Read this great post from Lydia at Divine Health from the Inside Out about why whey should be consumed regularly. You can also see why Melanie, from Pickle Me Too, has decided to stop using whey as a ferment starter as well. The following tutorial is still great though because many people don’t know just how easy it is to “make whey”! Enjoy! ~Jessica
If you have read and/or follow the recipes in Nourishing Traditions, you’ve seen that whey is used in many of the recipes, especially in the fermenting of foods. Lacto-fermented foods are foods where whey is used to help stimulate the good bacteria production.
Whey is a complete protein and is full of amino acids. It can be used for a whole host of things, including:
- Use it for the acid when you’re soaking your grains, soaking nuts and seeds, and soaking legumes.
- Use it to lacto-ferment vegetables and fruits.
- Add some to your soups, smoothies, or as the liquids in baked goods to help increase the protein.
- Drink it as a protein drink that is easily assimilate and digested (some people like the taste, some don’t).
- Use it on your skin to soothe irritation.
- Pour it over your dogs food (if you want to share)
For the longest time, I didn’t know what whey was or how I could get my hands on some, and I know I’m not alone. Whey is SO easy to obtain. It just take one ingredient and a couple simple steps. This recipe can easily be doubled, tripled, etc., depending on how much you need.
Whey
yields approx. 2 cups
Supplies:
Unbleached cheesecloth (2-4 sheets)
Glass bowl
Plastic strainer
Plate (that fits over strainer)
String
Glass jar(s)
Ingredients:
32 ounces organic, full-fat yogurt (either homemade or a high-quality commercial brand)
Directions:
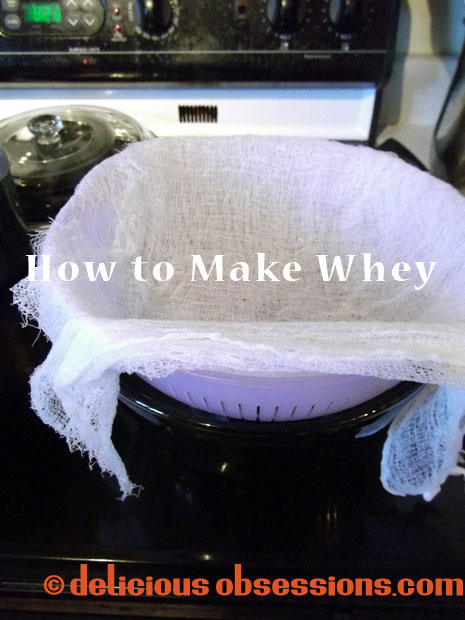
Place your plastic strainer in the glass bowl and line it with your cheesecloth. Depending on how tight the weave is, you may need between 2 and 4 sheets. I usually need 4, but the stuff I use has a super loose weave. Dump the entire container of yogurt into the cheesecloth and cover with a plate to keep the dust out of it. Let it sit on your counter for 6-8 hours (or longer if you forget about it – it doesn’t hurt it to sit out longer).

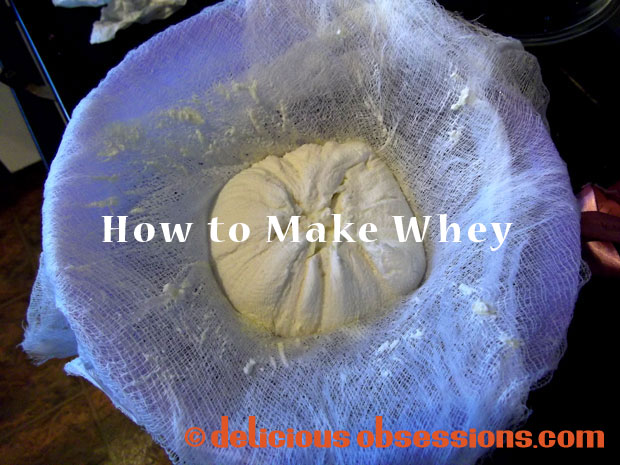
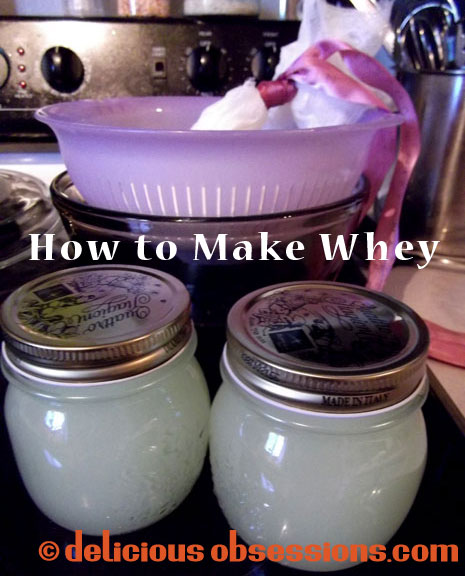
Once that time has passed, a lot of the whey should have dripped out, but you’d be amazed how much is left! Gather up the edges of the cheesecloth and tie them together with the string. You want the cheesecloth to be taut, but not so tight it’s squeezing the yogurt through the cheesecloth. Then, hang that somewhere where the rest of the whey can drip into the bowl. I tie mine to one of my cabinet’s handles, a couple inches above my bowl. Let it hang overnight. You’ll be surprised how much more whey you’ll get.

The remaining product is yogurt cheese (some call it cream cheese). It can be used the same way you’d use cream cheese. Or, you can use it as a very, very thick yogurt or “sour cream”. Goes great in smoothies, on potatoes, etc. Keep it in the fridge for up to a month.

The liquid whey can be bottled up and will keep in the fridge for up to 6 months. Once you have it on hand, you’ll be surprised how often you use it.

And now, you have whey of your very own! What do you use your whey for? I’d love to hear, so please leave a comment below!
For more reading on whey, check out these two posts from my friends at Divine Health and Vicariously Vintage:
- The Many Benefits of Whey – Divine Health from the Inside Out
- 17 Uses for Whey – Vicariously Vintage

25 Comments