

FTC Disclosure: Delicious Obsessions may receive comissions from purchases made through links in this article. As an Amazon Associate I earn from qualifying purchases.Read our full terms and conditions here.
{Note from Jessica: Today’s post is shared by my lovely friend, Marjorie Saveski, author of the This is So Good website. Marjorie is a blogger and a home cook with a passion for real food, health, and fitness. She hopes to share what she has learned through her real life experience and research with her readers. Stop by her site, This is So Good, to find more delicious recipes and helpful health information.}
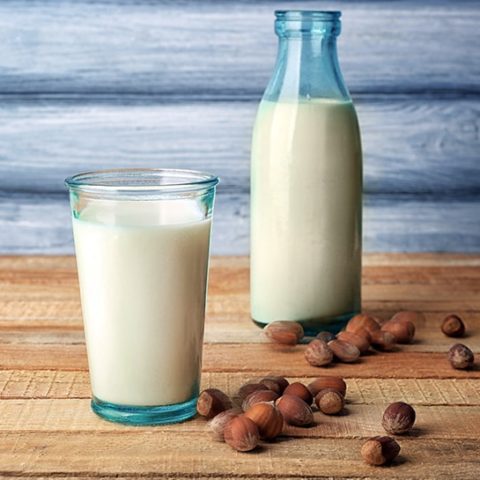
A couple of months ago I showed you how to make homemade almond milk and how to make homemade hazelnut vanilla coffee creamer. Today we are going to spin those two tutorials together and learn how to make homemade hazelnut milk!
Why make your own nut milks when they can be easily purchased at the store? My number one reason for doing this myself is quality! I can select the best nuts I can afford, I can soak them overnight to improve digestion, I can use filtered water, and I can avoid unnecessary stabilizers and additives. The process really isn’t that hard and it takes almost no time at all. And in the case of hazelnut milk, I have never even seen it sold in a store!
I think the flavor of hazelnuts is a little decadent and unique. The aroma and flavor remind me of coffee and dessert. Why not bring a little of that decadence to your morning bowl of gluten-free granola, add it to a smoothie to make it extra special, or just drink it cold for a slightly sweet and nutty treat?
I enjoy hazelnut milk without any added flavors or sweeteners, but I have also included directions to make a vanilla and a sweetened version. This recipe is perfect for many of those who follow special diets as it is Paleo, vegan, dairy-free, and SCD-legal. A high powered blender is not necessary for this recipe. I have made it in a regular blender, just let it process for an extra minute. I highly recommend getting a reusable nut milk bag, but several layers of cheesecloth will work too.
Coupons and Freebies for Homemade Hazelnut Milk Ingredients
I am always asked about my favorite ingredients and what I use in my own kitchen. I have linked to the products from my affiliate partners that I personally use and recommend. And now, here are the special coupon offers that select affiliate partners are currently offering:
- Thrive Market: If you sign up through this link, you will get 15% OFF your first order.
- Amazon, of course, has everything you need for this recipe. Their prices are often very good, though I love to shop around and sometimes find that Thrive Market has better deals. If you like saving money, it’s good to shop around! 🙂
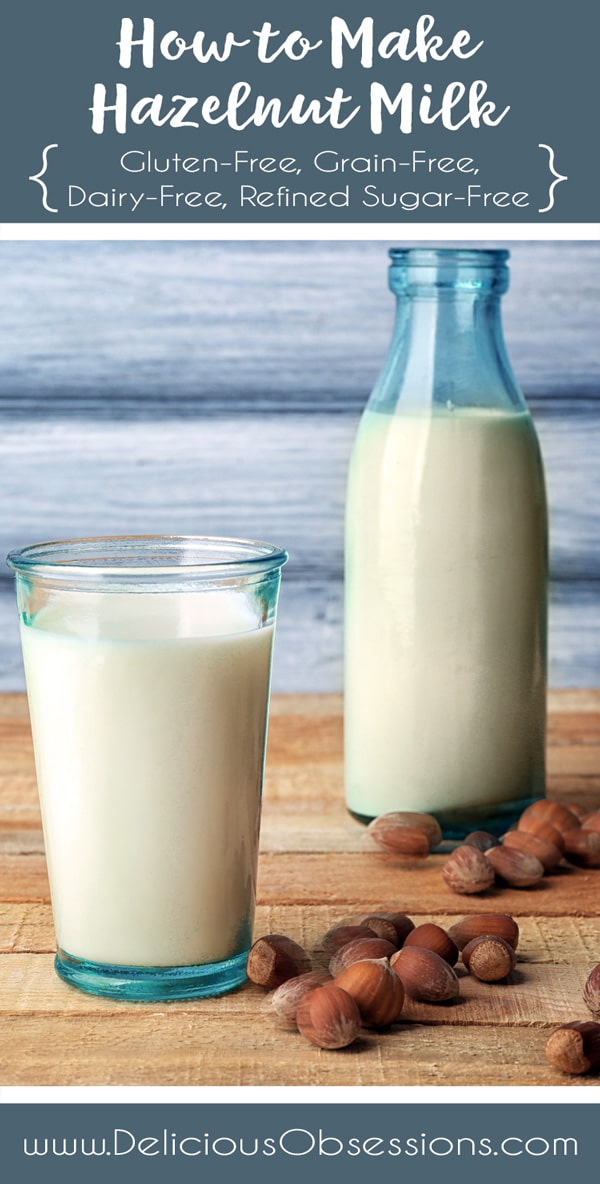
How to Make Hazelnut Milk :: Gluten-Free, Grain-Free, Dairy-Free, Refined Sugar-Free
Why make your own nut milks when they can be easily purchased at the store? My number one reason for doing this myself is quality because I can control the ingredients and avoid any additives that I may be allergic to!
Ingredients
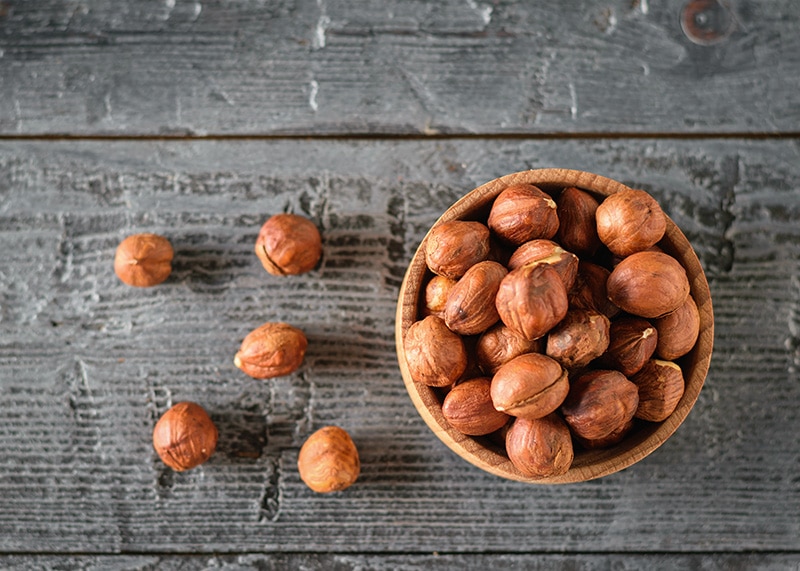
- 2 cups of hazelnuts
- 1/2 tbsp. sea salt
- Filtered water
- Optional for sweetening or flavoring the hazelnut milk: one vanilla bean cut into 2 pieces and/or 2 pitted dates
Instructions
- Place the 2 cups of hazelnuts and 1/2 Tablespoon of sea salt in a large glass bowl and add enough filtered water to cover the nuts by at least 2 inches (The hazelnuts will swell as they soak and you want to have enough water to keep them covered). Stir to mix in the salt.
- Cover and let the nuts soak for 12 hours. You will have about 3 cups of hazelnuts after they have absorbed some water.
- Add 1 1/2 cups of the nuts and 3 cups of filtered water to your blender. If you would like to flavor or sweeten the hazelnut milk, add one half of the vanilla bean, one date, or both the vanilla and date to the blender.
- Blend on high for 1 minutes in a high speed blender or two minutes in a regular blender.
- If using a nut milk bag, place it in a large bowl and pour the mixture from the blender into the bag. If using cheesecloth, layer 4-5 sheets in a mesh strainer and place it over the bowl before pouring in the blender mixture.
- Gather up the bag or cheesecloth and squeeze as much liquid out as you can. You will get about 4 cups.
- Pour into a quart size glass jar and store in the refrigerator.
- Repeat with the remaining 1 1/2 cups of soaked hazelnuts.
- Enjoy!!
Recommended Products
As an Amazon Associate and member of other affiliate programs, I may earn a small commission from qualifying purchases.
-
 Vanilla Beans (Tahitian) Grade A Whole - 5 x Prime Gourmet - 5 to 6 inches for Extract, Baking, Coffee, Brewing, Cooking
 -
 Hazelnuts/Filberts by Food to Live (Raw, No Shell, Kosher, Bulk) — 2 Pounds
 -
 Cheesecloth for Straining - Certified Organic Cotton - Fine Reusable Unbleached Cooking Filter - Superior to Nylon or 90 Grade (18 Sq Feet)
Nutrition Information:
Yield: 6 Serving Size: 1Amount Per Serving: Calories: 39Total Fat: 3gSaturated Fat: 0gTrans Fat: 0gUnsaturated Fat: 3gCholesterol: 0mgSodium: 2mgCarbohydrates: 3gFiber: 1gSugar: 2gProtein: 1g
This website provides approximate nutrition information for convenience and as a courtesy only. Nutrition data is gathered from Nutritionix and we often find their calculations to be slightly inaccurate based on the whole food ingredients we use on this site. Nutrition information can vary for a recipe based on many factors. We strive to keep the information as accurate as possible, but make no warranties regarding its accuracy. We encourage readers to make their own calculations based on the actual ingredients used in your recipe, using your preferred nutrition calculator.
What to do with the Hazelnut Meal
You get an extra bonus when you make your own hazelnut milk – you get hazelnut meal!
You will have some hazelnut pulp leftover after squeezing out the liquid. Simply spread it onto your dehydrator trays (lined with parchment if you only have screens) and dehydrate at 105 degrees for 6-8 hours or until completely dried. Whiz it up in your food processor and you have hazelnut meal, perfect for breading chicken and fish or adding to smoothies.
2 Comments