FTC Disclosure: Delicious Obsessions may receive comissions from purchases made through links in this article. As an Amazon Associate I earn from qualifying purchases.Read our full terms and conditions here.
Nothing’s better than a creamy, cold treat on a hot summer day. These Chocolate Pudding Pops are reminiscent of the delicious treats we used to eat as children but made with much healthier ingredients (including no refined sugar!). They make for a wonderful snack in the middle of summer, or any time you have a craving for something chocolaty.
As I write this, I have such a ridiculous backlog of recipes. Some are half-written, some need photos, some need to be tested again, and some need to be proofread and then published. It never ends! Most people have no idea how much work it takes to post just one single free recipe on a food blog.
And, as a mom with a 15-month-old who keeps me on my toes every day, I am finding it really hard to find time to work. Creating and testing the recipes seems to be easy. Taking the photos, editing them, and sitting down to actually write the blog post… well, that’s a whole different story.
In order to publish one single recipe, these are all the steps that I (and other food bloggers) have to go through:
- Create the recipe.
- Head to the store to get all of the ingredients needed.
- Test the recipe multiple times.
- Style and photograph it (or some people outsource their photography).
- Edit the photos and create Pinterest graphics.
- Write the blog post (and the content has to be a certain number of words in order to make Google happy, so writing often takes a while).
- Proof the blog post and upload photos.
- Add all of the applicable links, products, services, etc. needed for the post.
- Optimize it (which means do the SEO, search engine optimization, on it).
- Publish it.
- Share it or schedule it to be shared on social media.
- Write the newsletter to promote it.
People who aren’t involved in the online world from a business standpoint often don’t know the amount of work that it takes to publish just one single FREE recipe. This is why it hurts our feelings so much when readers complain about ads in our content or us using affiliate links to promote products we love.
It also is frustrating when we get negative complaints about a recipe not using X, Y, Z ingredients because “I can’t eat A, B, C ingredient.”
I get it. I have food sensitivities too and as much as I’d love to test every recipe with every possible ingredient, it’s just not possible from a time or a financial perspective.
Anywho, I digress. As usual. Lol! Back to the chocolate pudding pops.
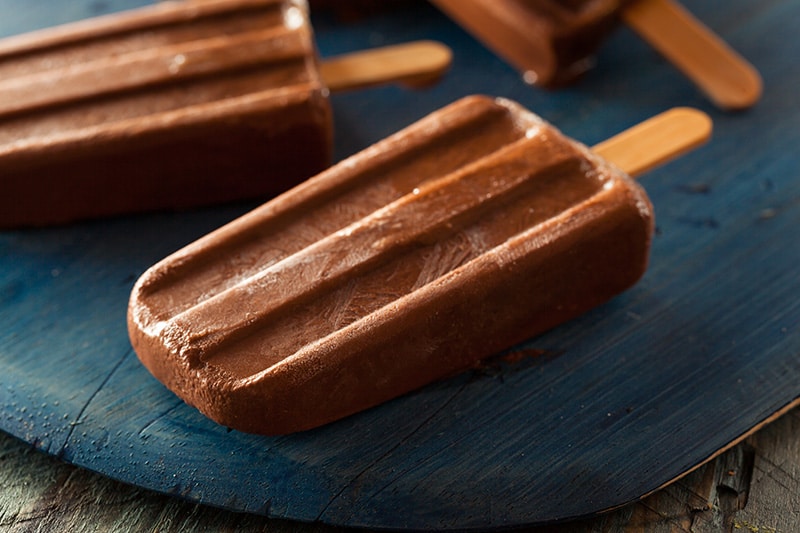
Hot Summers Need Cold Treats!
It’s smack dab in the middle of the summer as I write this and it has been HOT this year. We had high 90s, and every some 100s in June, which is pure insanity. I would expect that craziness in July and August, but not June. Then July started hot with most days in the 90s and it’s just continued that trend…
So, I immediately started focusing on my favorite hot weather treats and these pudding pops are at the top.
I actually started making these lasts year when I was just a few months postpartum. They were so cool and refreshing on hot days. Plus they were filled with lots of healthy fats to keep me going during a crazy busy season of being a new mom.
The most awesome thing about this recipe? They taste waaaaaaay better than storebought.
Equipment Needed for Chocolate Pudding Pops
For this recipe, you are obviously going to need a few things. First, you need some popsicle molds. Here are a few of my favorites:
If your molds don’t have their own sticks, you’ll also need to grab a set of popsicle sticks like these at your grocery store.
If you don’t have molds and don’t want to buy any, you can totally make these the old-school way with those tiny little paper cups (like these). You’ll still need to grab some popsicle sticks, so don’t forget those!
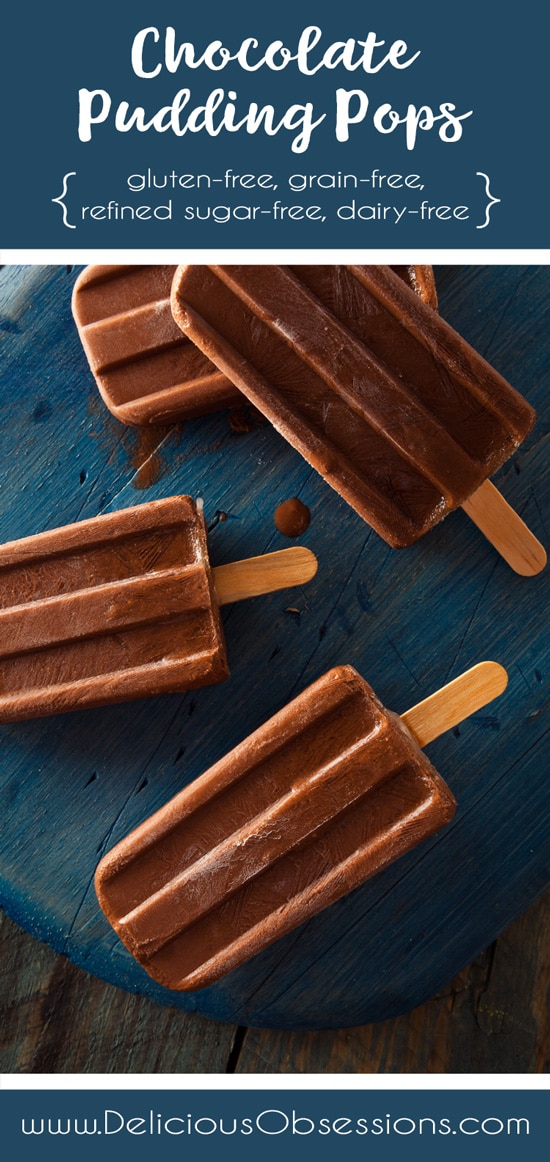
Notes About Chocolate Pudding Pops
This recipe actually is based on my Easy Creamy Chocolate Pudding recipe. Last summer when I was creating that recipe, I ended up with a bunch extra so I froze it. And it was SO good!
The original pudding recipe called for cornstarch and gelatin, but I find that neither of those are needed for the pudding pops. I do however keep the collagen powder in because it adds some extra protein and helps stabilize the mixture a little.
I also keep the eggs in this recipe because it gives more fat and protein. It also helps make the popsicles more rich and creamy. Straight coconut milk is great, but I find it develops more ice crystals than the mixture with the eggs does. So you get a smoother end result with the eggs.
I use full-fat coconut milk and coconut cream for this recipe, but if you are not sensitive to dairy, you can easily swap that out for dairy milk and cream and it will work perfectly. You could also use all coconut milk or if you want it insanely rich and decadent, all coconut cream.
Because I limit my sugar intake (even natural sugars like honey and maple syrup don’t work well for me), I use allulose in this recipe. But you can swap it out 1:1 for regular sugar. I personally think granulated sugar works better in this recipe than liquid sugars like honey and maple syrup. I feel like there is less crystalization.
When it comes to the chocolate, in the original pudding recipe, I experimented with using all cocoa powder and all chocolate chips. Neither gave me a flavor that was juuuuuuust right but when I used some of both, I found that I loved the end result a lot better.
Now, who’s ready to make some easy chocolate pudding pops? Let’s go!
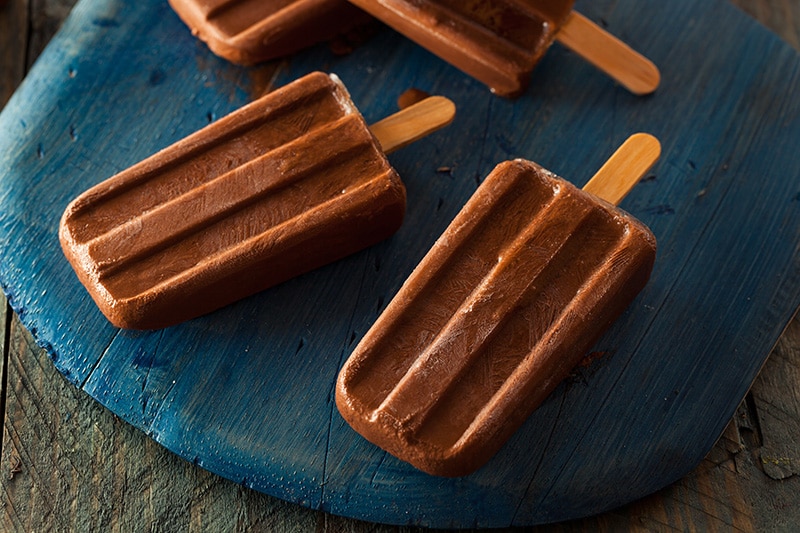
Chocolate Pudding Pops
Nothing's better than a creamy, cold treat on a hot summer day. These Chocolate Pudding Pops are reminiscent of the delicious treats we used to eat as children but made with much healthier ingredients (including no refined sugar!). The Chocolate Pudding Pops make for a wonderful snack in the middle of summer, or any time you have a craving for something chocolaty.
Ingredients
- 1 can coconut milk (13.5 oz), with 1/2 of the can reserved
- 1 can coconut cream (13.5 oz)
- 3/4 cup chocolate chips (I use Lily's sugar-free)
- 1/4-1/3 cup allulose (depending on how sweet you like it -- you can also use any other sweetener of your choice here)
- pinch of salt
- 4 eggs
- 1/2 cup grass-fed collagen powder (I only use Perfect Supplements since it's rigorously tested - use coupon code DELICIOUS10 to save 10% on your order)
- 2 tbsp cocoa powder
- 1 tsp vanilla extract
Instructions
- In a medium saucepan, combine the coconut milk, coconut cream, chocolate chips, allulose, and salt. Heat over medium-low heat, whisking until the chips are melted.
- In a separate bowl, add your 1/2 can of coconut milk, eggs, collagen, cocoa powder, and vanilla. Using an immersion blender, mix until fully combined and smooth.
- While blending, slowly pour in some of the warm chocolate coconut milk from the saucepan. This is to temper your eggs so you don't end up with scrambled egg pudding. I usually blend in about a cup of the warm mixture.
- Once the egg mixture is tempered, slowly pour it into the saucepan while the immersion blender is running. Once everything is mixed, increase the heat to medium and whisk while the mixture comes to a simmer. Keep whisking.
- As soon as it starts to bubble, turn off the burner. Using the immersion blender, give the mixture one last blend, running it for 10-15 seconds or until everything looks super smooth.
- Remove from heat and let cool for an hour or so before pouring into your popsicle molds.
- Freeze until solid, usually 4-6 hours depending on your freezer. Enjoy!
Recommended Products
As an Amazon Associate and member of other affiliate programs, I may earn a small commission from qualifying purchases.
-
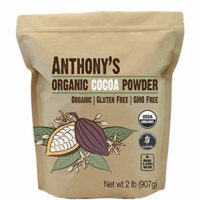 Anthony's Organic Cocoa Powder, 2lbs, Batch Tested and Verified Gluten Free & Non GMO
 -
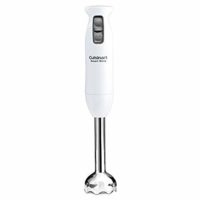 Cuisinart CSB-75 Smart Stick 2-Speed Immersion Hand Blender, White
 -
 Norpro Frozen Ice Pop Maker, one, Blue Lid
 -
 Anthony's Allulose Sweetener, 2 lb, Batch Tested Gluten Free, Keto Friendly Sugar Alternative, Zero Net Carb, Low Calorie
 -
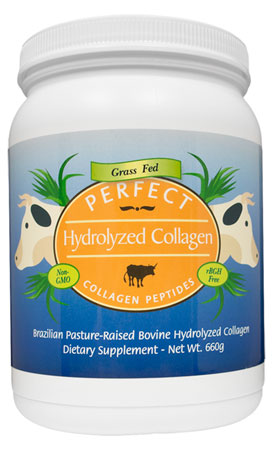 Perfect Hydrolyzed Collagen
 -
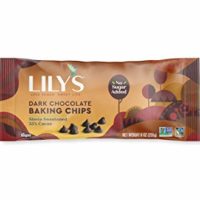 Lily's Dark Chocolate Chips- 1x9 OZ
 -
 Thai Kitchen Gluten Free Unsweetened Coconut Cream, 13.66 fl oz (Pack of 6)
 -
 Thai Kitchen Unsweetened Coconut Milk, 25.36 fl oz (Pack of 6)
Nutrition Information:
Yield: 10 Serving Size: 1Amount Per Serving: Calories: 47Total Fat: 2gSaturated Fat: 1gTrans Fat: 0gUnsaturated Fat: 1gCholesterol: 74mgSodium: 53mgCarbohydrates: 0gFiber: 0gSugar: 0gProtein: 7g
IMPORTANT! PLEASE READ!!! This website provides approximate nutrition information for convenience and as a courtesy only. Nutrition data is gathered from Nutritionix and we often find their calculations to be slightly inaccurate based on the whole food ingredients we use on this site. Nutrition information can vary for a recipe based on many factors. We strive to keep the information as accurate as possible, but make no warranties regarding its accuracy. We encourage readers to make their own calculations based on the actual ingredients used in your recipe, using your preferred nutrition calculator.
Have food sensitivities or allergies? Missing out on delicious treats?
Well, now you don’t have to any longer!
Hi! My name is Jessica and I have a major sweet tooth! I also have multiple food sensitivities that include gluten and dairy and my body doesn’t do well with any form of refined sugar.
What’s a girl to do?
Well, I could go to my local Natural Grocers and find a lot of healthier treat options, but even then, many of them tote a hefty price tag or still include ingredients that don’t work so well for my body. So, I decided to head into my kitchen and start creating my own delicious treats at home. That way I can control the ingredients and customize everything to my own individual needs.
And today, I am excited to share my newest eBook, Deliciously Decadent Desserts, with you! This eBook is available exclusively to my newsletter subscribers and features never-before-published recipes. This book includes some of my all-time favorite recipes and you can download your copy below for FREE!
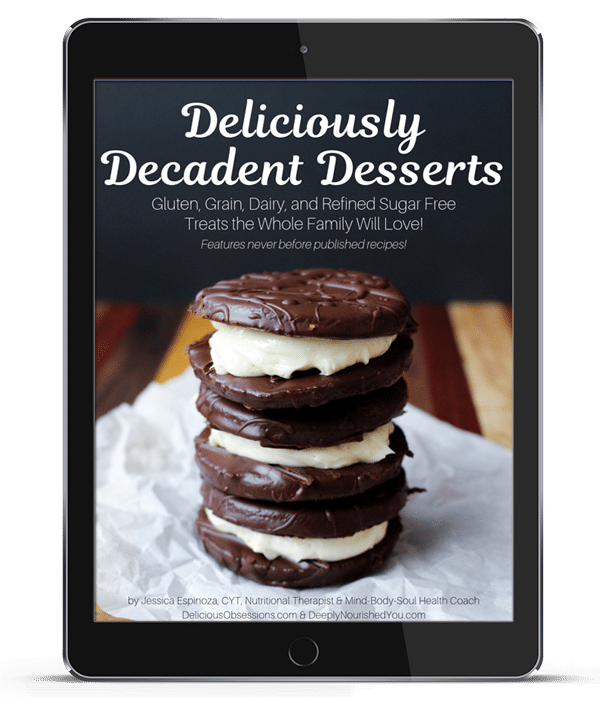
Recipes include my beloved Homemade Thin Mints AND my Thin Mint Sandwiches Cookies (among others!). If you love Girl Scout cookies, but the ingredients don’t love you, have no fear! These two recipes alone will knock your socks off!
Regardless of whether you are gluten, grain, dairy, or refined sugar free (or a combo of all), now you can have your treats and eat them too! I can guarantee the whole family will swoon for the recipes in this new eBook.
Download your copy today using the form below! If you have any questions, don’t hesitate to reach out and ask!
