FTC Disclosure: Delicious Obsessions may receive comissions from purchases made through links in this article. As an Amazon Associate I earn from qualifying purchases.Read our full terms and conditions here.
{Note from Jessica: Today’s post is shared by my sweet, longtime friend, Emily Sunwell-Vidaurri, author of the Recipes to Nourish website. Emily’s blog focuses on gluten-free real food and holistic health. She’s a real foodie, passionate about nourishing home cooking and advocate of “green” living. Her passion and mission are to make healthy and natural living as easy and enjoyable as possible. Stop by her site, Recipes to Nourish, for her latest recipes and natural living tips.}
Summertime is the perfect time for frozen treats!
Who loves to enjoy creamy, icy treats? I do! I am a true lover of ice cream, popsicles, sherbet, frozen yogurt and really anything else that is cold, dreamy and perfect on a hot summer day. What’s not to like? I am all about enjoying life and the little things that bring you joy. No guilt here, life is too short.
The great thing about enjoying treats is you can make them healthy. Real food doesn’t have to be complicated. Sometimes it takes a little bit longer to make, but that’s okay … it’s worth the wait. Yes, it could possibly be easier to run out to the ice cream truck or grab a packaged box from the grocery freezer aisle … but is it really worth it? Life is precious and our bodies cannot recognize the food dyes, corn syrups and artificial flavorings in commercialized treats.
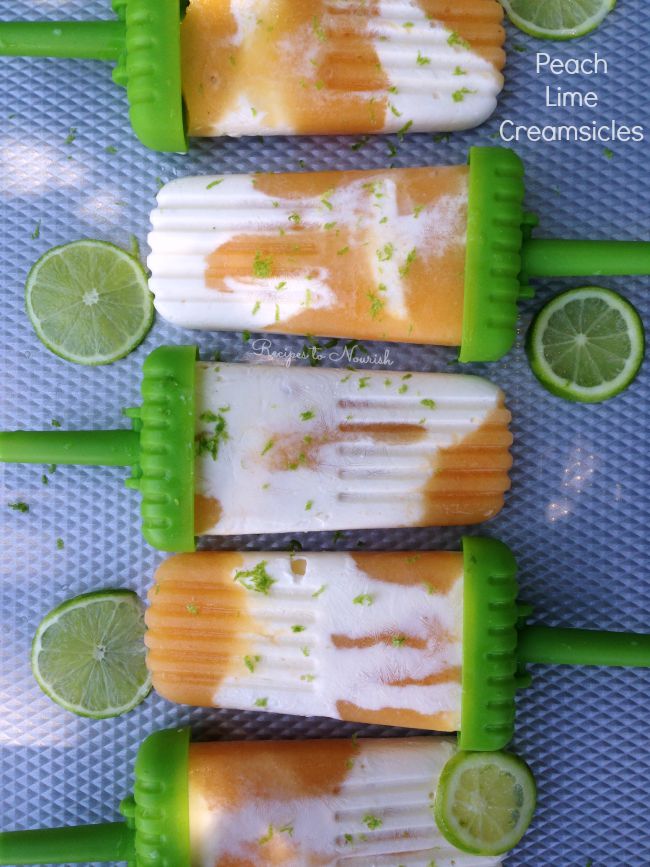
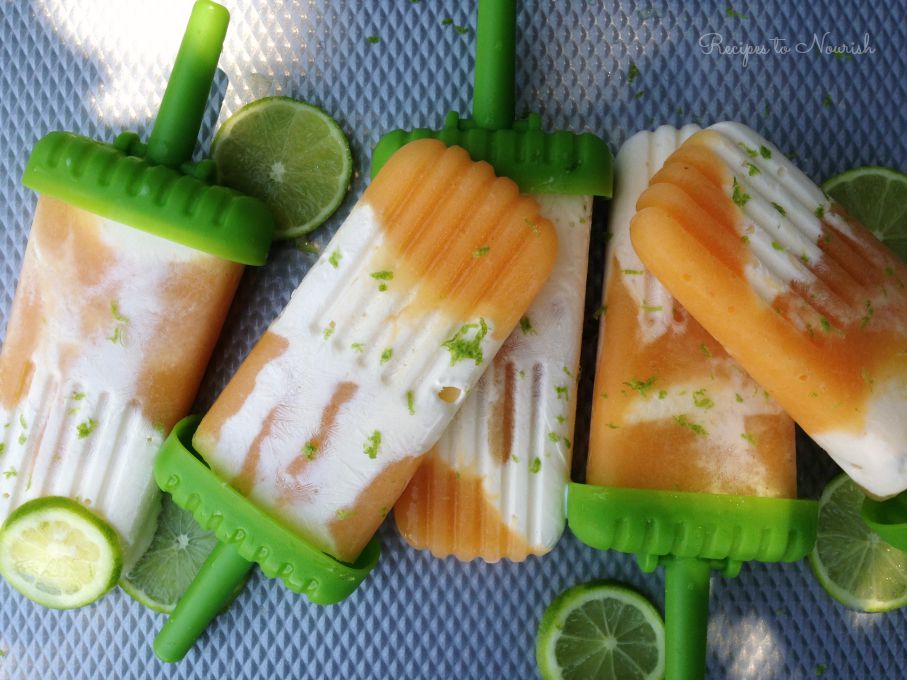
You don’t have to miss out on those nostalgic creamsicles though! They are so easy to make at home. All you need is some simple + basic real food ingredients. Peaches!!! We’re talking whole fruit here … beautiful, juicy summer peaches. A small amount of raw honey, a little bit of vanilla, some tart, fresh lime juice and some tangy + creamy cultured sour cream.
You might be thinking, did she mean to write sour cream? Why yes I did. I like to add some extra health benefits to treats when I can. I use real, true sour cream – which is full of probiotics {I’ve included a dairy-free version too for those who can’t have dairy}. Not all sour creams are created equal though, most store-bought sour creams do not have a high probiotic content. The majority are not made with grass-fed dairy either. So make sure to look for a brand that is a true sour cream, with organic, grass-fed dairy.
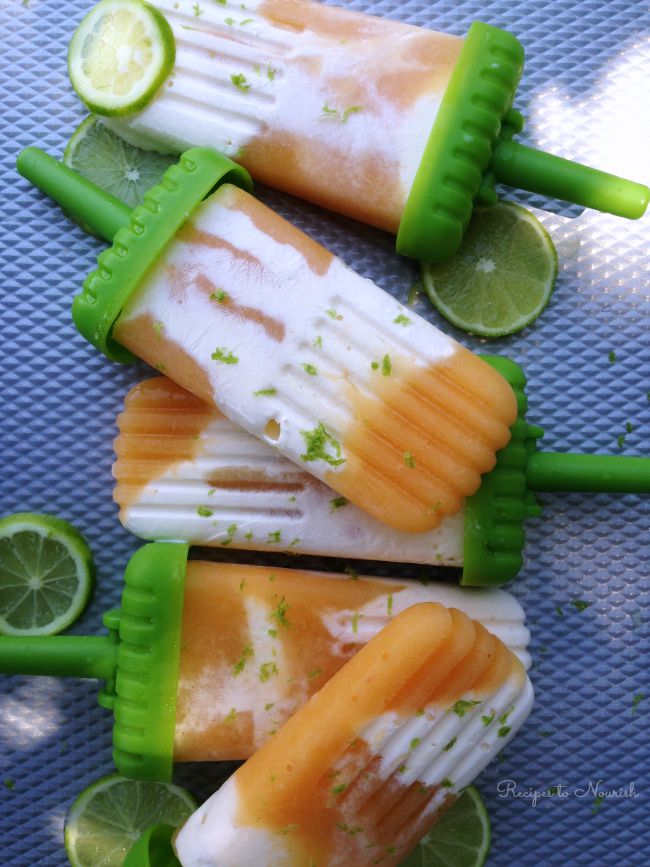
Sour cream adds a lovely, tangy creaminess to these creamsicles. It’s a perfect balance … a little bit of sweet, a little bit of tang, a little bit of tart, and a whole lot of flavor.
So go ahead and indulge in this summertime classic treat. Enjoy every bite!
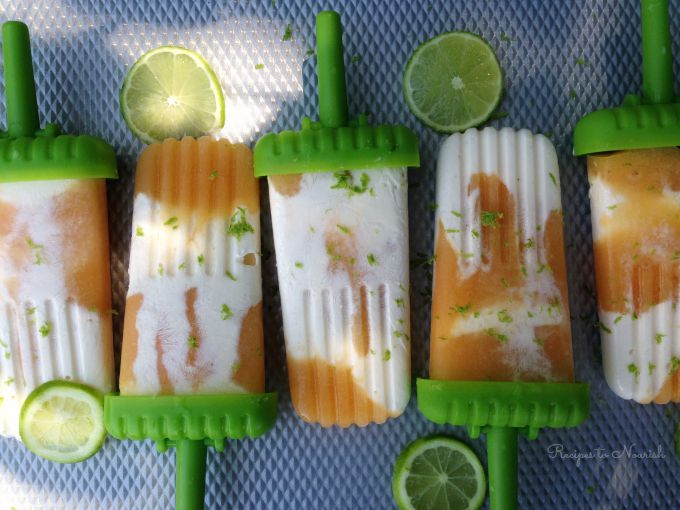
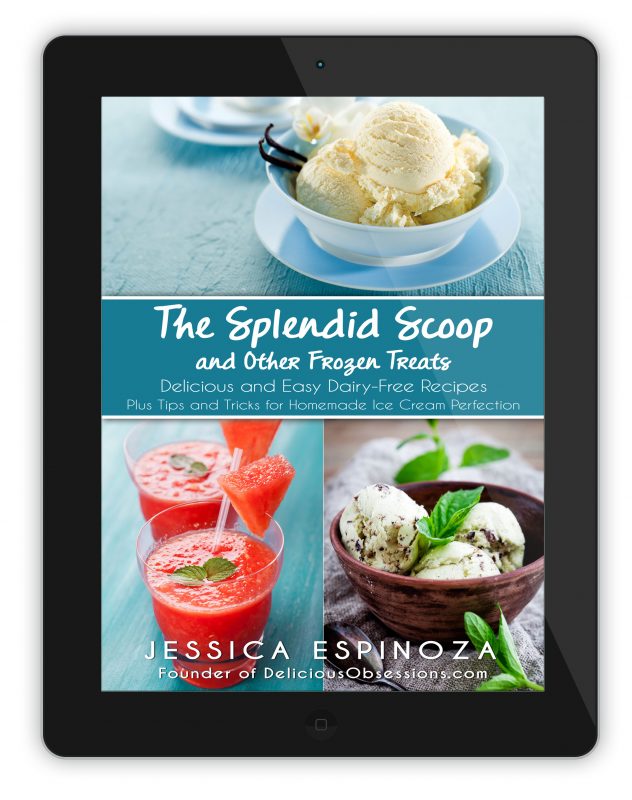
My passion for homemade ice cream and frozen treats is exactly why I wrote my eBook, The Splendid Scoop. You can learn more about that book here, or read on down to the bottom of this article.
Coupons and Freebies for Peach Lime Creamsicles Ingredients
I am always asked about my favorite ingredients and what I use in my own kitchen. I have linked to the products from my affiliate partners that I personally use and recommend. And now, here are the special coupon offers that select affiliate partners are currently offering:
- Thrive Market: If you sign up through this link, you will get 15% OFF your first order.
- Amazon, of course, has everything you need for this recipe. Their prices are often very good, though I love to shop around and sometimes find that Thrive Market has better deals. If you like saving money, it’s good to shop around! 🙂
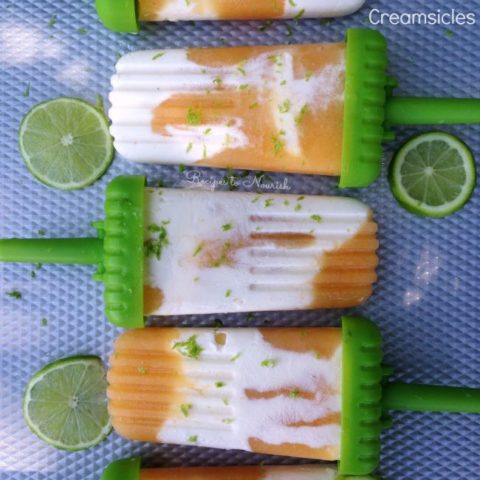
Peach Lime Creamsicles
You don't have to miss out on those nostalgic creamsicles because they are so easy to make at home. All you need is some simple real food ingredients, some popsicle molds, and some hungry tastebuds!
Ingredients
- 10 oz. or about 2 cups fresh or frozen organic peaches, peeled and pitted {make sure to thaw frozen}
- 1/2 - 3/4 cup filtered water
- 2 cups cultured sour cream, crème fraiche, or thick full-fat yogurt {for dairy-free version, see Notes}
- 2 tablespoons fresh lime juice {approx. the juice of 1 lime}
- 1 teaspoon organic vanilla extract
- 1/4 cup raw light-colored honey
Instructions
- Peel peaches and remove the pits. If using frozen peaches, thaw the peaches.
- Add peaches and 1/2 cup {or more depending on what your blender needs to puree it} filtered water to a blender. Blend until pureed and no chunks remain. Set aside.
- In a mixing bowl, combine sour cream, lime juice, vanilla and honey. Stir until completely incorporated and honey is fully dissolved. [Note: If you're using a thicker honey, let the jar sit in hot water until it becomes a thinner consistency. I used a local creamed clover honey that is very easy to mix.] At this point you can do a taste test and add more honey if you prefer it sweeter.
- Have your popsicle molds ready to fill. To get a marbled effect, you will need a spoon and will need to alternate the sour cream mixture and blended peach mixture. To assemble, use a spoon to add about a tablespoon of sour cream to 1 popsicle mold. Add some peach mixture. Keep alternating the mixtures until you have filled the popsicle mold. Repeat until all popsicle molds are filled. It sounds complicated but it's really very simple. It takes less than 5 minutes to fill all of the popsicle molds.
- Place full popsicle molds in the freezer for at least 6-8 hours, best overnight.
- When frozen, briefly run popsicle mold under warm water to help release the popsicle from the mold.
Notes
Yield: Finished popsicle yield varies. I can usually fill about 6-8 popsicle molds.
Notes: I prefer Nancy's sour cream because of their practices; it's a true organic, grass-fed sour cream, full of probiotics.
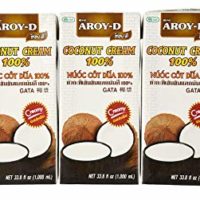
Dairy-Free Version: You'll need coconut cream {from the tops of approx. 1-2 cans of full-fat coconut milk OR this awesome coconut cream from Aroy-D works wonderful} to replace the cream.
- The night before you want to make the popsicles, place cans of coconut milk in the refrigerator. I recommend placing 3 cans in the refrigerator just in case one can doesn't quite form enough cream at the top. Sometimes coconut milk doesn't have the right fat content, so not enough cream forms at the top. While you're at it, place a large mixing bowl in the fridge to chill to use the next day for the coconut whipped cream.
- Remove the chilled mixing bowl and coconut milk cans from the refrigerator taking care not to shake them or tilt them. Remove the lids and scrape off the top, thick white layer which is the coconut cream. Add the coconut cream to the chilled mixing bowl. You can freeze the remaining coconut water for later use in smoothies or other popsicles.
- Using a mixer on low speed, beat the coconut cream for about 30 seconds until it starts to become creamy and thickens slightly. Then add the vanilla and raw honey and continue to beat on medium speed for about 1 minute or until the coconut cream has become whipped and thick. Follow the above directions for filling the popsicle molds.
Recommended Products
As an Amazon Associate and member of other affiliate programs, I may earn a small commission from qualifying purchases.
Nutrition Information:
Yield: 8 Serving Size: 1Amount Per Serving: Calories: 175Total Fat: 13gSaturated Fat: 7gTrans Fat: 1gUnsaturated Fat: 4gCholesterol: 40mgSodium: 57mgCarbohydrates: 12gFiber: 1gSugar: 10gProtein: 3g
This website provides approximate nutrition information for convenience and as a courtesy only. Nutrition data is gathered from Nutritionix and we often find their calculations to be slightly inaccurate based on the whole food ingredients we use on this site. Nutrition information can vary for a recipe based on many factors. We strive to keep the information as accurate as possible, but make no warranties regarding its accuracy. We encourage readers to make their own calculations based on the actual ingredients used in your recipe, using your preferred nutrition calculator.
Want to Learn How to Make Your Own Ice Cream Perfection At Home?
I’ve got you covered in my best-selling eBook, The Splendid Scoop and Other Frozen Treats: Delicious and Easy Dairy-Free Recipes, Plus Tips and Tricks for Homemade Ice Cream Perfection!
When the weather gets warm, nothing is more delicious than a bowl of cold ice cream or a delicious frozen treat. But, when you’re on a restricted diet, finding treats that are suitable for your needs can be tricky. Plus, what happens when you want to make ice cream, but don’t own an ice cream maker? Can you still make tasty treats without all the special equipment?
Yes! You can!
That is why I created The Splendid Scoop and Other Frozen Treats eBook! I, myself, am on a restricted diet for health reasons and when the weather starts warming up over 65 F, I start to get cranky. ? I am definitely a cool weather gal and one way to keep me sane and satisfied during the height of summer is knowing that I can make something delicious, at home, using healthy ingredients that fit my lifestyle.
All of the recipes in this book are dairy, grain, and gluten free. They can easily be modified for the autoimmune protocol as well, making them extra special for those on super restricted diets.
In The Splendid Scoop and Other Frozen Treats eBook, You Will Learn:
- Why making your own ice cream and frozen treats at home is better than buying them at the store (even the organic ones!).
- Tips and tricks for homemade ice cream success.
- How to make ice cream without an ice cream maker (it’s easier than you think!).
- Delicious dairy-free recipes the whole family will love (recipes are also gluten and free and can easily be adapted for the autoimmune protocol as well).
- Extensive resource suggestions for real food, wellness, and beyond.
Don’t let another summer or special occasion pass you by. No longer will you have to watch your friends and family indulge on their favorite frozen treats while you sit on the sidelines due to your dietary restrictions.
Now you can enjoy creamy, delicious, and allergen-friendly frozen treats once again with The Splendid Scoop.


6 Comments