

FTC Disclosure: Delicious Obsessions may receive comissions from purchases made through links in this article. As an Amazon Associate I earn from qualifying purchases.Read our full terms and conditions here.
{Note from Jessica: Today’s post is shared by my sweet, longtime friend, Emily Sunwell-Vidaurri, author of the Recipes to Nourish website. Emily’s blog focuses on gluten-free real food and holistic health. She’s a real foodie, passionate about nourishing home cooking and advocate of “green” living. Her passion and mission are to make healthy and natural living as easy and enjoyable as possible. Stop by her site, Recipes to Nourish, for her latest recipes and natural living tips.}
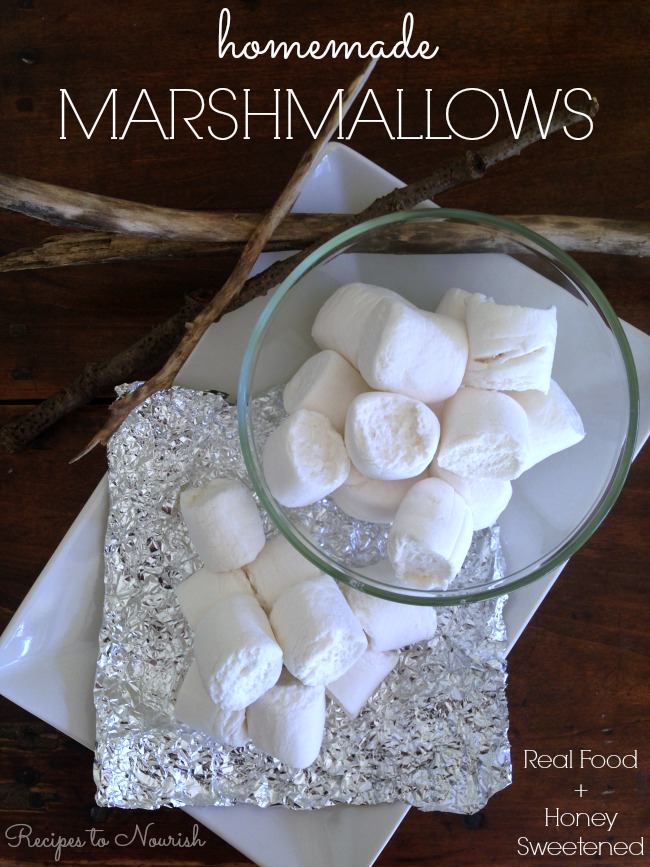
Marshmallows are so nostalgic.
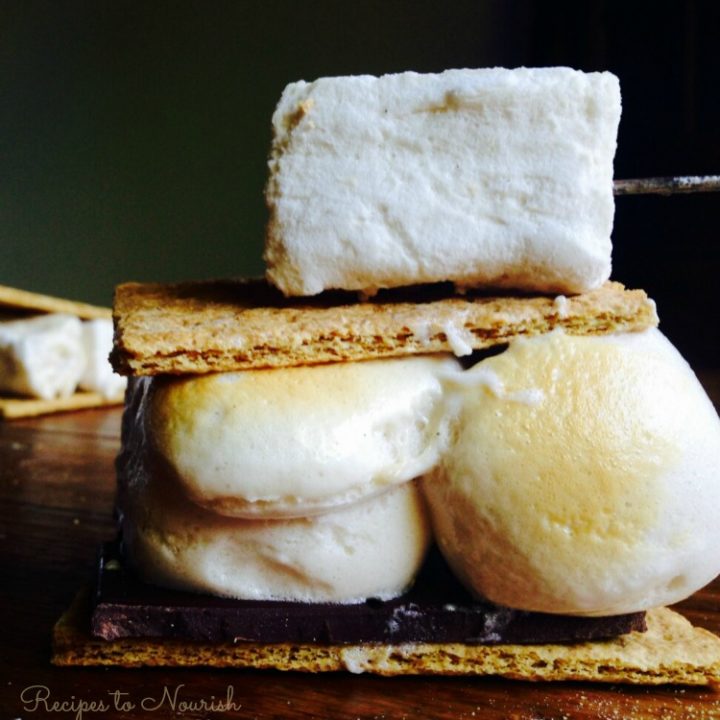
You mention the word and most people instantly think of hot chocolate or a delicious summertime treat. Can you guess what I’m talking about? S’mores!!!
It’s that time of year. Summer has arrived, school is out, people head to the beach and many set off on camping adventures. With those fun summer plans ahead, you must fit making homemade marshmallows into your to-do list. Campfires and bonfires at the beach are not complete without a good ole s’mores.
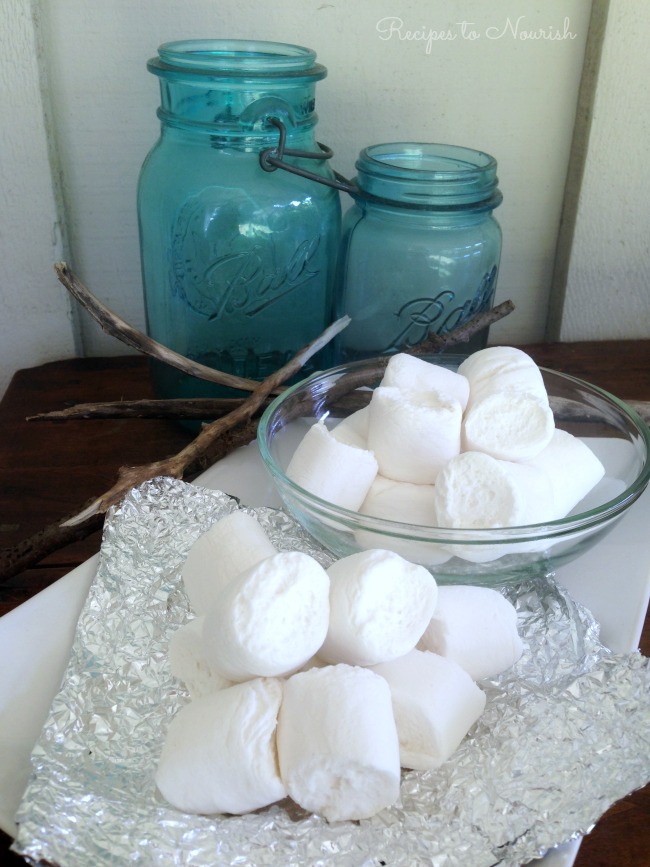
Making marshmallows from scratch is pretty simple too! Most people assume homemade marshmallows are super hard to make … but they’re not.
I have been making marshmallows for many years now and I always look forward to it. I love to make all kinds for my family … strawberry flavored, chocolate dipped, cinnamon, lemon, and peppermint. It’s so fun! I get so much joy from making these sweet little mounds of deliciousness. My family doesn’t complain either.
I use grass-fed beef gelatin in these marshmallows. I also use honey instead of the typical corn syrup. Have you read the ingredients on the mainstream packaged marshmallows? “Corn Syrup, Modified Corn Starch, Tetrasodium Pyrophosphate {a whipping aid}, Artificial Flavor and Artificial Color {Blue 1}” … no, thank you. I’ll stick to honey-sweetened, so much healthier than the store-bought kind! They’re GAPS and Paleo-friendly too!
If you’re avoiding processed foods, no worries … you don’t have to miss out on the classic summertime favorite – gooey marshmallows + melted chocolate + crispy graham crackers. So go ahead, make some homemade marshmallows and indulge! Life is too short not to enjoy the little things.
P.S. I use this recipe for paleo cinnamon toast crunch as graham crackers. Instead of cutting them into small pieces, I cut them into larger, graham cracker size pieces. They are DELISH!
Delicious Obsessions Trusted Product Recommendations for Homemade Marshmallows (+ coupons and freebies!)
I am always asked about my favorite ingredients and what I use in my own kitchen. I have linked to the products from my affiliate partners that I personally use and recommend. And now, here are the special coupon offers that select affiliate partners are currently offering:
- Thrive Market: If you sign up through this link, you will get 15% OFF your first order.
- Amazon, of course, has everything you need for this recipe. Their prices are often very good, though I love to shop around and sometimes find that Thrive Market has better deals. If you like saving money, it’s good to shop around! 🙂
Important Note On Gelatin Types
When it comes to gelatin, you don’t want any old gelatin off the supermarket shelves. You want to look for 100% grass-fed gelatin from healthy animals. Just like other animal products, quality is important.
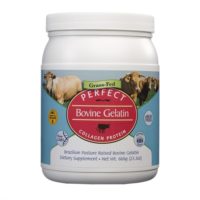
That is why I recommend Vital Proteins Grass-Fed Gelatin products and Perfect Supplements products exclusively. I have compared these brand with other brands on the market and the quality far surpasses anything else I’ve tried. I am thrilled to be one of their affiliate partners and support such great products and companies.
Perfect Supplements offers a grass-fed hydrolyzed collagen (cold-soluble) right now and has a gelatin (hot-soluble) in the works for 2016. Read my review of their product here or watch the video below. You can order their own products via their own site here or on Amazon here.
How to Make Homemade Marshmallows :: Gluten-Free, Dairy-Free, Refined Sugar Free
Making marshmallows from scratch is pretty simple too! Most people assume homemade marshmallows are super hard to make, but they're really not.
Ingredients
- 1 cup filtered water, divided
- 3 tablespoons + 1 teaspoon grass-fed gelatin
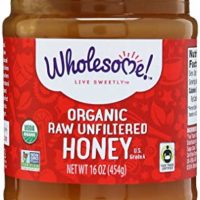
- 1 cup light colored honey
- 2 teaspoons organic vanilla extract
- 1/4 teaspoon sea salt
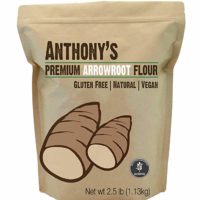
- 1/4 cup arrowroot starch
Instructions
- Line an 8x8 {or larger} pan with unbleached parchment paper in both directions {so you can easily lift up the marshmallows when they are set}.
- In a small bowl, add arrowroot starch. Use 2 tablespoons to evenly distribute over the bottom of the pan. Set aside.
- Assemble your standing mixer with the mixing bowl and whisk attachment. Add 1/2 cup filtered water to the mixing bowl, then sprinkle the gelatin over the water. Let this sit as you make the honey mixture.
- In a medium-size sauce pan {with high edges} add 1/2 cup filtered water, honey, vanilla and sea salt. Bring the mixture to a boil over medium high heat {if using a candy thermometer, place in the honey mixture}. Stir constantly as the mixture will start to bubble and get foamy the hotter it gets - stirring keeps it from overflowing. Simmer until it reaches 240 degrees. If you don't have a candy thermometer, this will take about 8 minutes. Remove from heat.
- With the mixer on low, SLOWLY and carefully drizzle the hot honey mixture in a thin continuous stream down the side of the bowl. This should take about 2 minutes, that gives you an idea of how slow you need to pour it. ***Remember the honey mixture is extremely hot, so use caution.***
- Turn the mixer to high and continue beating until the mixture becomes thick, glossy and has increased in volume, about 15 minutes.
- Turn off the mixer and transfer marshmallow fluff to the lined pan. Use a spatula to evenly distribute and smooth the top.
- Dust the top of the marshmallow fluff with the remaining arrowroot starch.
- Let the marshmallows sit at room temperature to set for at least 8 hours, best overnight.
- When marshmallows are set, remove by lifting the parchment paper flaps. Set on a flat surface or large cutting board {the marshmallows should still be on the parchment paper}. Carefully remove the parchment paper from the sides of the marshmallows {it should release easily, just do it slowly}. Use a large chef's knife to cut the marshmallows into desired size. *** See NOTES below for cutting ideas. ***
Notes
Yield: Makes about 25 {1 inch} marshmallows ... I cut the rustic edges off first and cut those strips into mini marshmallows, making about 30-40 mini marshmallows. You can also grease the knife with coconut oil for easier cutting, but I usually forget and don't have any trouble cutting them.
I do not recommend using wildflower honey. It becomes too overpowering and you won't be able to taste the traditional vanilla flavor. I prefer to use lighter-colored honey like clover.
Recommended Products
As an Amazon Associate and member of other affiliate programs, I may earn a small commission from qualifying purchases.
Nutrition Information:
Yield: 25 Serving Size: 1Amount Per Serving: Calories: 30Total Fat: 1gSaturated Fat: 0gTrans Fat: 0gUnsaturated Fat: 0gCholesterol: 0mgCarbohydrates: 6gFiber: 0gSugar: 5gProtein: 0g
This website provides approximate nutrition information for convenience and as a courtesy only. Nutrition data is gathered from Nutritionix and we often find their calculations to be slightly inaccurate based on the whole food ingredients we use on this site. Nutrition information can vary for a recipe based on many factors. We strive to keep the information as accurate as possible, but make no warranties regarding its accuracy. We encourage readers to make their own calculations based on the actual ingredients used in your recipe, using your preferred nutrition calculator.
Have you ever made homemade marshmallows? Leave a comment below!
Want Even More Gelatin Goodness?
Health Benefits and Gelatin Info
- Get the real scoop on gelatin brands here.
- Learn how to use gelatin for an egg replacement here.
- Find out the amazing health benefits of gelatin here.
Gelatin Recipes (Gluten-Free)
- Strawberry Mint Lemonade Gummies
- Melon Gummies
- Elderberry Gummies with Ginger and Turmeric
- Honey Orange Fruit Snacks
- Strawberry Clouds Dessert
- Vanilla Bean Faux Cheesecake
- Clean and Healthy Homemade Marshmallows
- Coconut Milk Hot Chocolate
- Pumpkin Cream Cheese Muffins
- Pumpkin Brownies
- Pumpkin Scones
- Double Dark Chocolate Coconut Milk Pudding
- Coconut Tulsi (Holy Basil) Ice Cream
- Strawberries & Cream Tart
- Creamy Coconut Milk Yogurt (no yogurt maker required)
The Gelatin Secret
For further reading, my friend Sylvie’s book, The Gelatin Secret (affiliate link), is by far the best book out there on the subject.
Gelatin is the superfood that can give you relief from digestive disorders and thousands of people are finding that regular consumption is helping them heal their bodies and live a healthier life.
24 Comments