
")
FTC Disclosure: Delicious Obsessions may receive comissions from purchases made through links in this article. As an Amazon Associate I earn from qualifying purchases.Read our full terms and conditions here.
{Note from Jessica: Today’s post is shared by my sweet friend Jess Kuh. Jess is a fellow real food lover with a passion for natural living, herbs, and anything that keeps her family and home healthy.}
~~~~~~
For anyone looking at using herbs for natural healing, salves are a must have in the medicine chest. This simple plantain salve has many uses. At our house it is used for bug bites, burns, scrapes, cuts, rashes, and chapped skin.
Plantain is a very soothing herb. More than that, it pulls out infection while healing, which is why it has so many great uses. We have successfully used it to prevent infection as well as clear up an infection that set in already. During the summer we use it constantly on mosquito bites….it even works on hard core bee stings!
I’ll admit I was quite nervous when I tried my hand at salve making, but I will tell you that salve is very easy and very forgiving. I’m going to walk you through the process and you’ll not only be able to make plantain salve, but any herbal combination of your liking.
If you’re interested in learning more about herbs and would like to know who I recommend, check out my Resources page.
Delicious Obsessions Trusted Product Recommendations
I am always asked about my favorite ingredients and what I use in my own kitchen. I have linked to the products from my affiliate partners that I personally use and recommend. And now, here are the special coupon offers that select affiliate partners are currently offering:
- Thrive Market: If you sign up through this link, you will get 15% OFF your first order.
- Amazon, of course, has everything you need for this recipe. Their prices are often very good, though I love to shop around and sometimes find that Thrive Market has better deals. If you like saving money, it’s good to shop around! 🙂
- I get all of my herbs and spices from Mountain Rose Herbs. I have tried so many other brands and have never found the quality, flavor, and aroma to be as good as the herbs I get from Mountain Rose.
For more information about the essential oils I use for myself and my family, click here.
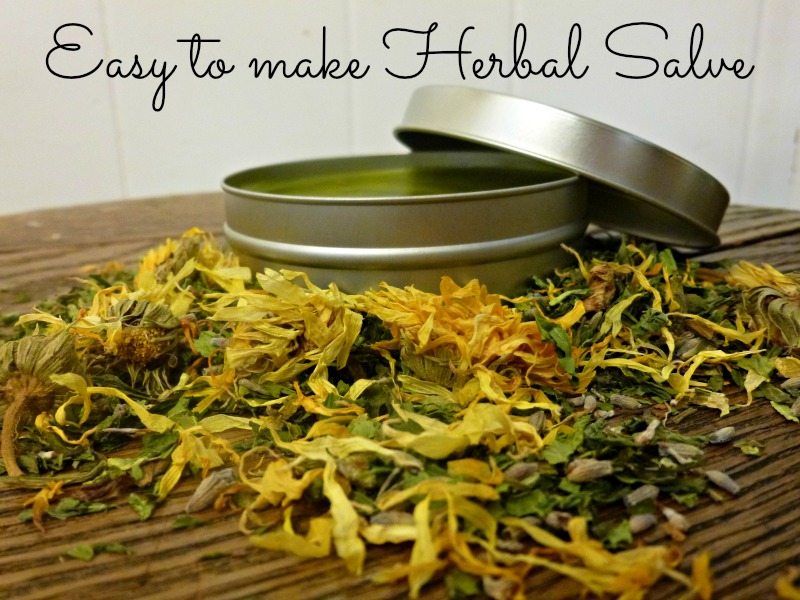
DIY Herbal Plantain Salve Recipe
I have linked to the products from my affiliate partners that I personally use and recommend. If you purchase through one of these links, I may earn a small commission.
Ingredients and Tools
- 4 ounces of herbal infused olive oil*
- 1 ounce Beeswax
- Grapefruit seed extract
- Vitamin E oil
- Tins, chapstick containers, or a small glass jar to hold the salve
- Essential oils (optional)
*To make your herbal infused oil, fill a quart Mason jar half full of dried plantain. Fill the jar with olive oil, leaving 1 inch of head space at the top. Cover with lid. Place a towel in the bottom of your crock pot and fill with water. You’ll want this to be on low/warm for three days. You may need to add water to the crock pot as the days go on. On the third day you can strain your oil with cheesecloth and you’ll be ready to make your salve!
Instructions
First things first. Make sure your kitchen equipment is clean and DRY. Water and salve are not a good combination as water will cause your salve to mold.
1. Have all the containers you wish to fill open and ready for pouring. This will make it easier than fumbling around once everything is melted.
2. Measure your infused oil and beeswax and pour into small pan. Heat over low, stirring until the wax is melted. Remove from heat.
3. Add 5 drops of grapefruit seed extract and 5 drops of vitamin E oil and stir. I add a drop for every ounce of oil and wax, both the grapefruit seed extract and vitamin E will act as preservatives for your salve. If you don’t have both, just one will work fine.
4. If you are going to add essential oils, now is the time. I love the smell of lavender and it has its own healing properties that are great for wound and skin care. If you plan on using your salve for chapstick, a drop or two of peppermint taste and smell wonderful!
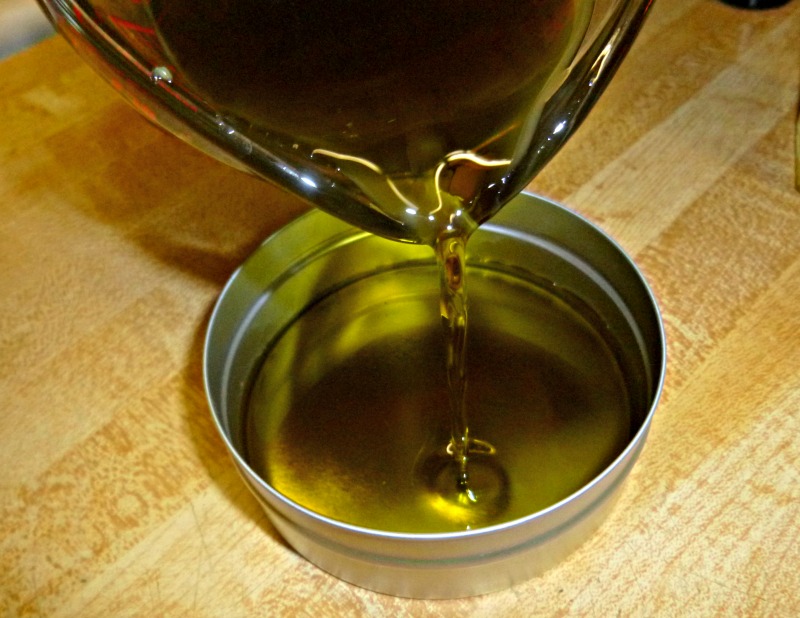
5. Pour the warmed oil mixture into a glass measuring cup that has a pourable spout (a glass Pyrex measuring cup works great). This makes pouring into containers so much easier (trust me on this!). Use a rubber spatula to get the oil from the sides of the pan. Waste not, want not! 🙂
6. Carefully pour your oil in your container(s) of choice. The salve will start to harden up quickly so you want to move as fast as you can without spilling.
If the salve starts to harden, it isn’t a big deal, just scrape with your spatula and add to the top of your tin. It took me quite a few tries to get my salve to look pretty…but it always works well, no matter what it looks like.
Let the salve sit for 24 hours to harden completely, or if you are impatient like me, put it in the refrigerator to harden up faster.
A Few Helpful Tips:
- Have some hot soapy water ready to wash your pan, measuring cups, and spatula. I find it easier to wash if I get everything rinsed well as soon as possible.
- You can buy beeswax in blocks or pastilles. While it is a bit more money, it’s worth it to buy the pastilles. Grating beeswax is not easy on the knuckles.
- If you find that your salve is too hard, just reheat and add a bit more oil. If it is too soft, reheat and add more wax. It is very forgiving. You can play with the proportions to find the consistency you like. Just make sure your write down the added wax or oil so you know what you liked for next time.
And that’s it! You now have a wonderful container of healing balm. Once you have made your own salve, you’ll never want to be with out it.
Want recommendations on where to buy your herbs, beeswax, and other high-quality supplies? Check out our Products I Love page for more recommendations on herbal products and DIY supplies.
18 Comments