FTC Disclosure: Delicious Obsessions may receive comissions from purchases made through links in this article. As an Amazon Associate I earn from qualifying purchases.Read our full terms and conditions here.
UPDATE 7/26/12: I no longer use whey as a starter for my ferments (learn why here). I also no longer use Mason jars for my ferments (learn why here). I use Fidos and Pickl-Its exclusively and the improvement in the taste and texture of my ferments is unbelievable! I encourage everyone to take a look at the information regarding Mason jar ferments and come to a decision that best fits their family. I will be releasing updated versions of these recipes soon, as it applies to the Fido and Pickl-It jars.
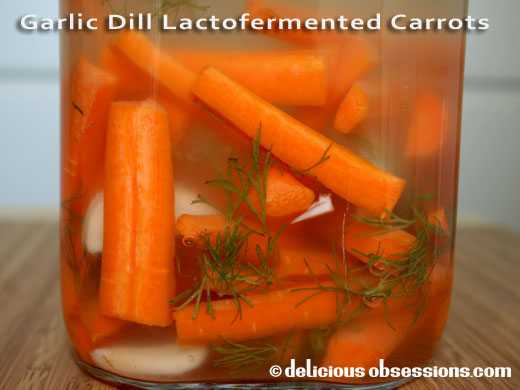
Yay! Finally, a recipe, after a somewhat extended hiatus. This week, I made lacto-fermented dilly carrots, and I have been quite pleased with the results. As I explained last week, I invested in some Bormioli Rocco Fido Canning Jars, on a suggestion from my friend Lea at Nourishing Treasures. This was the first time I have ever used this style jar for fermenting, and just after this one experiment, I am hooked!
Now, these jars are similar in style to the Pickl-It jars, except they don’t have an airlock, so you do need to burp them when using. Regarding burping, I started the dilly carrots on Sunday afternoon (last week) and then forgot all about them until Tuesday afternoon. I gently flipped the metal latch up, it let off a “whoosh” and then I immediately put latched the lid closed again. Whole process probably took 3 seconds. It was literally Unlock, Whoosh, Lock.
The results of the ferment were MUCH better than my mason jar ferments. I feel like the carrot sticks stayed a lot more crisp than they would have in a Mason jar. I was told by several people that once I started experimenting with these types of jars, I would be pleasantly surprised with how much better the ferments would turn out, both in taste and texture. Because this was a successful ferment, I feel re-energized to experiment with our good lacto-bacteria friends once again! Also, despite my article a couple months back, I did use whey in this ferment, because I wanted to give the ferment a kick start and didn’t have any vegetable starters on hand. I also used the basic brine recipe that Wardeh from GNOWFGLINS recommends (as a side note, make sure you come back next week, as I’ll be reviewing and giving away a copy of her new book “The Complete Idiot’s Guide to Fermenting Foods“!)
Garlic Dilly Carrots
makes approx. 1 quart
View my updated (whey-free) recipe for dilly carrots here.
Ingredients
- 6 carrots, scrubbed and/or peeled (organic)
- 2 cloves fresh garlic (organic)
- 2 tbsp. fresh dill or 1tbsp. dried dill
- 1/4 cup whey
- 1 quart basic brine (3 tbsp. fine ground sea salt dissolved into 4 cups filtered water)
Instructions
1. Make your basic brine, if you don’t already have some on hand and let cool to room temperature.
2. Scrub and/or peel your carrots and then chop into carrot sticks, about 3 inches long.
3. Place carrot sticks neatly in the bottom of a 1.5 liter Fido jar. The carrot sticks will only fill about 1/3 of the jar.
4. Rough chop or slice your garlic and place in jar on top of carrots. If you’re using fresh dill, rough chop that as well and toss in with the garlic.
5. Place a weight on top of the carrots. You can use a variety of things for weights, so get creative with what you have on hand. I used a 1/2 pint glass jar.
6. Pour the basic brine over the carrots and the wieght. If you’re using a smaller jar, like me, make sure the jar fills with the brine too.
7. Close the lid and leave at room temperature until all signs of bubbling as ended. This took about 4 days in my house, but my house is a balmy 85 degrees on most days (yes, I know, it’s hot!). If your house is cooler, it could take up to 7 days. Each day, make sure you burp the jar, by carefully releasing the latch and then closing it again quickly. You should hear a definite whoosh, but you don’t want to open the lid all the way.
8. Once there is not sign of bubbling, that means the ferment is complete and it can be moved to cold storage and you can start eating!
9. Enjoy!


4 Comments