

FTC Disclosure: Delicious Obsessions may receive comissions from purchases made through links in this article. As an Amazon Associate I earn from qualifying purchases.Read our full terms and conditions here.
Ever get that craving for something and it just won’t cease until you make it?
Well, recently, I had a craving for brownies.
Rich, fudgy brownies.
So, I whipped up a batch of these and they did the trick.
Serve them with a glass of cold milk and it’s the perfect comfort food! If you don’t like walnuts, you can substitute any nut that you prefer, and they’ll still be delicious.
Delicious Obsessions Product Recommendations
I am always asked about my favorite ingredients and what I use in my own kitchen. I have linked to the products from my affiliate partners that I personally use and recommend. And now, here are the special coupon offers that select affiliate partners are currently offering:
- Thrive Market: If you sign up through this link, you will get 15% OFF your first order.
- Amazon, of course, has everything you need for this recipe. Their prices are often very good, though I love to shop around and sometimes find that Thrive Market has better deals. If you like saving money, it’s good to shop around! 🙂
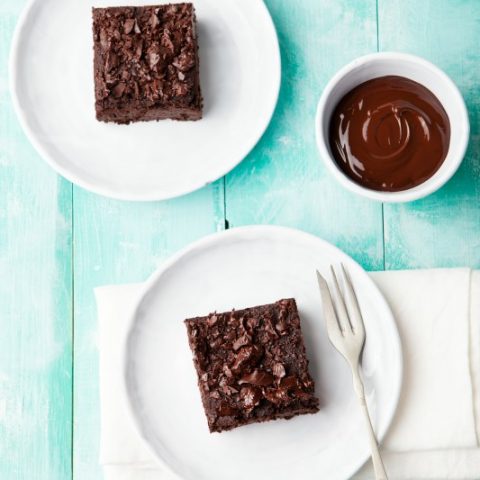
Gluten & Grain-Free Super Fudgy Chocolate Walnut Brownies
Rich, fudgy brownies. Serve them with a glass of cold milk and it’s the perfect comfort food!
Ingredients
- 1/2 cup grass-fed butter or ghee
- 1/3 cup coconut oil
- 6 ounces organic chocolate chips
- 1/3 cup coconut flour
- 1/4 cup organic cocoa powder
- 1 tsp. vanilla extract
- 2 tsp. instant espresso or coffee (optional but delicious)
- 1/4 tsp. liquid stevia
- 2 pastured eggs
- 1/2 cup organic white chocolate chips (optional, but delicious)
- 1 cup walnuts
- Pinch of sea salt
Instructions
- Preheat the oven to 325. Grease an 8×8 pan with coconut oil and set aside.
- In a double boiler, start the butter, coconut oil, and chocolate chips melting over medium heat.
- In a separate bowl, stir the coconut flour, cocoa powder, and sea salt together and set aside.
- Continue to stir the melted chocolate mixture until smooth and then remove from heat.
- Stir in the instant coffee, vanilla, and stevia powder.
- Quickly whisk the eggs into the melted chocolate, followed by the flour/cocoa powder mixture. Stir until the flour is mixed in. The batter will be lumpy.
- Fold the white chocolate chips and the walnuts into the batter.
- Pour the batter into the greased pan.
- Bake for 20-25 minutes. The brownies will seem underdone.
- Remove from the oven and let cool completely before cutting.
Recommended Products
As an Amazon Associate and member of other affiliate programs, I may earn a small commission from qualifying purchases.
-
 Redmond Real Sea Salt
 -
 NOW Foods Raw, Organic Walnuts
 -
 Ghirardelli Classic White Chocolate Premium Baking Chips - 11 oz.
 -
 Vital Farms Pasture-Raised Large Eggs 12 ct
 -
 SweetLeaf Sweet Drops Liquid Stevia Sweetener
 -
 Mount Hagen Organic Fair Trade Freeze Dried Instant Coffee
 -
 Certified Organic Pure Vanilla Extract
 -
 Anthony's Organic Cocoa Powder, 2lbs, Batch Tested and Verified Gluten Free & Non GMO
 -
 Anthony's Organic Coconut Flour
 -
 Lily's Dark Chocolate Chips- 1x9 OZ
 -
 Nutiva Organic, Cold-Pressed, Unrefined, Virgin Coconut Oil
 -
 Bulletproof Grass-Fed Ghee, Quality Clarified Butter Fat
 -
 Kerrygold Pure Irish Butter
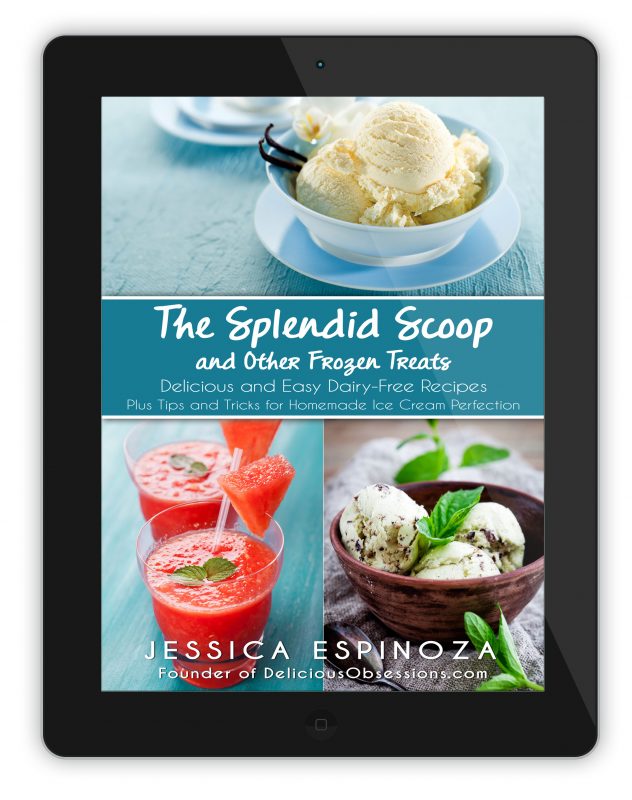
Learn How to Make Perfect Ice Cream (and Other Frozen Treats) at Home
Ice cream is the quintessential dessert (and, ahem, it would probably go pretty darn great with this recipe!). I mean, I can’t think of a single person that I’ve ever met who doesn’t like ice cream. While not everyone is as passionate about the cold, creamy, sweet concoction as I am, I am betting that if you’re reading this, you probably enjoy a frozen treat of some sort every now and then.
If so, then I have the PERFECT resource for you today.
I am crazy about ice cream, but I find that there are very few commercial ice creams that I can eat. I can’t do dairy, so that scratches a good 75% of them off the list. And the non-dairy options either taste funny, have too much sugar, or have weird gums and additives that my poor gut just doesn’t tolerate.
So, what’s a gal to do?
Master the art of making her own ice cream at home, that’s what!
And create I did and The Splendid Scoop and Other Frozen Treats eBook was born! This is one of my best-selling eBooks because I arm you with everything you need to make your own perfect ice cream (or other frozen treats) at home any time you want.
And I do it all with real food ingredients, no refined sweeteners, not gums, not stabilizers. No junk here.
Oh, and I also have made the recipes allergen-friendly and even adaptable for stricter healing diets (like the AIP).
So, if you are ready to master the art of making your own ice cream at home, this is the perfect book for you. Don’t let another special occasion or hot day in the summer pass you by watching everyone else enjoying cold treats while you sit on the sideline due to your dietary restrictions.
No more!
If you are ready to learn more about The Splendid Scoop and Other Frozen Treats and see how you can download your own copy today, click here (or just click on the image below!).

20 Comments